Shivam
Shivam Parikh Project 6A/B
Homographies and Rectification
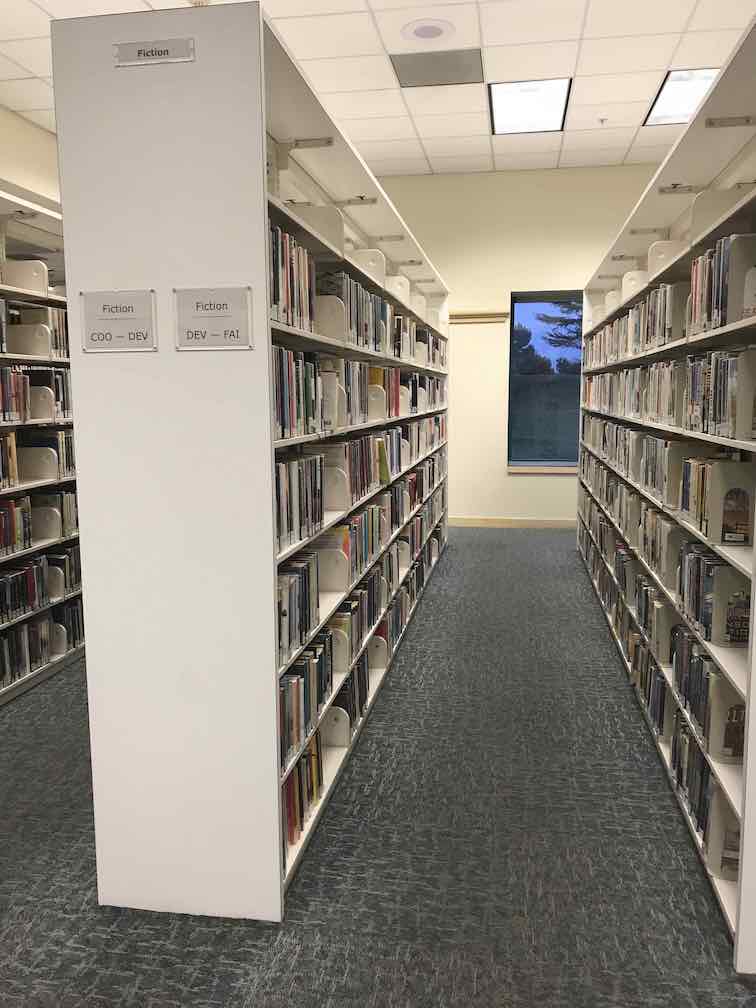
Taking and Aligning the Pictures
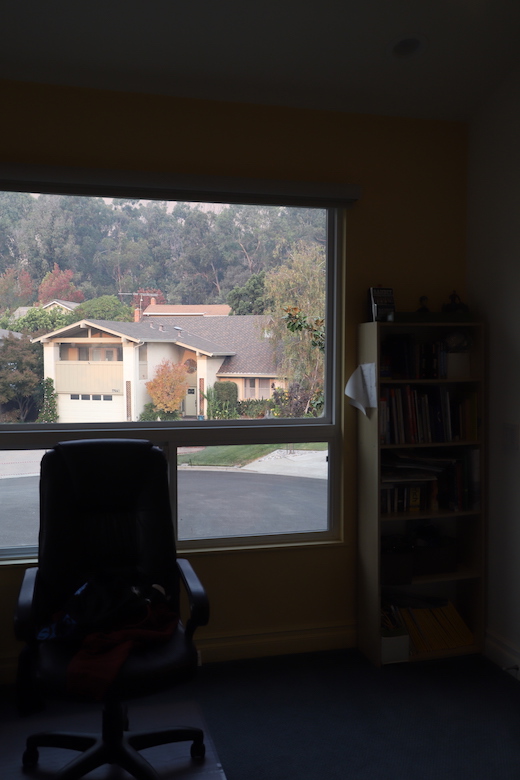
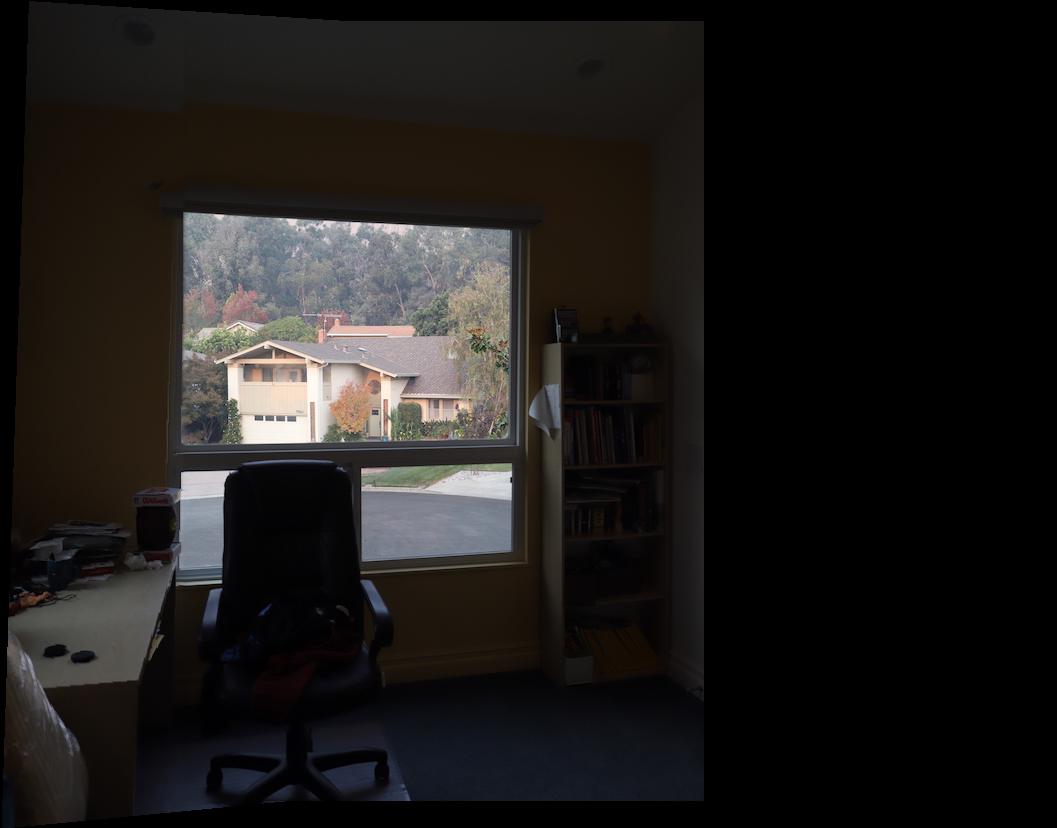
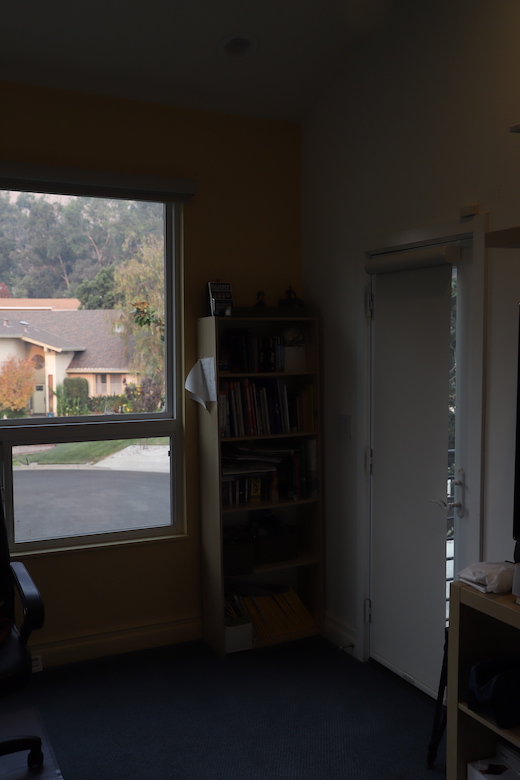
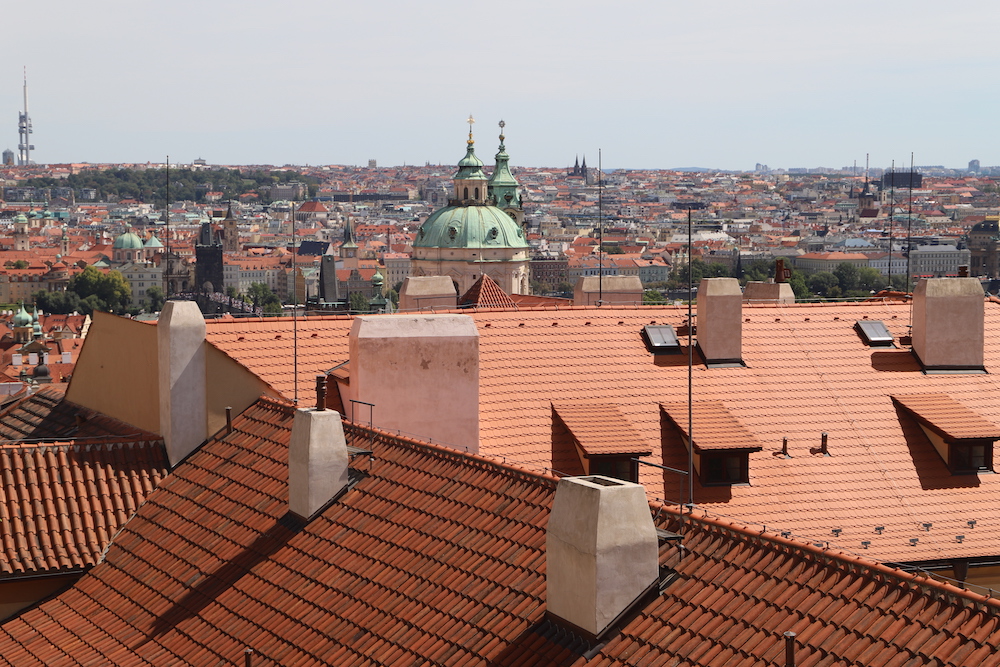
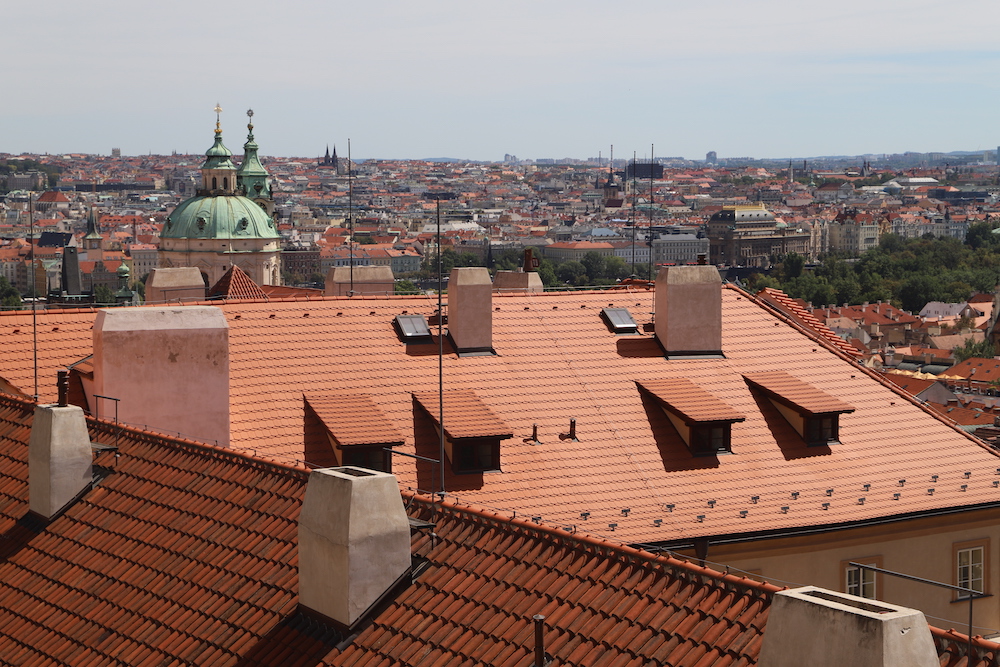
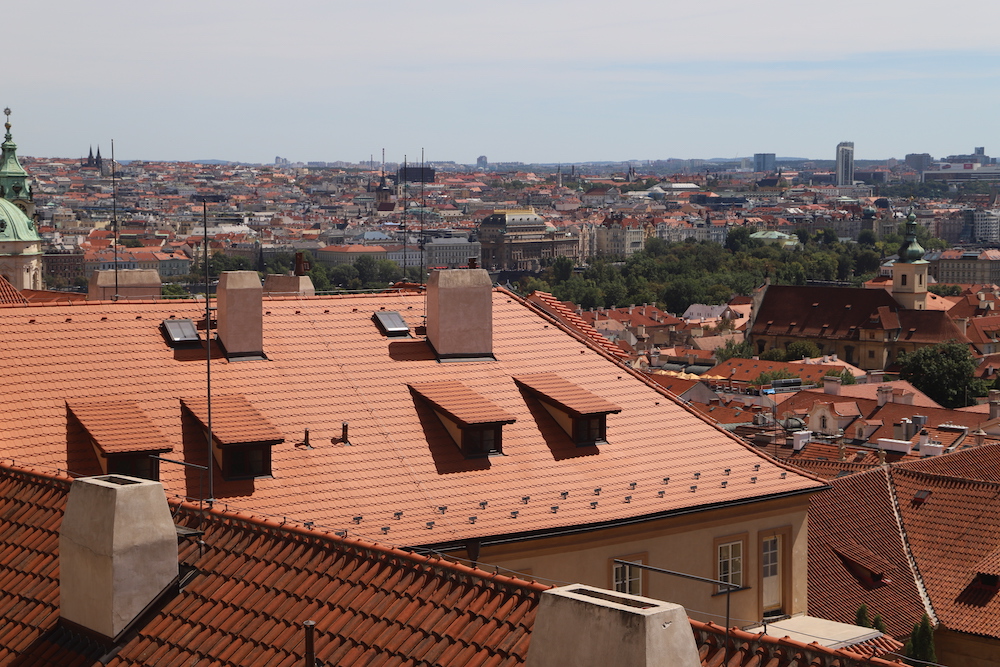
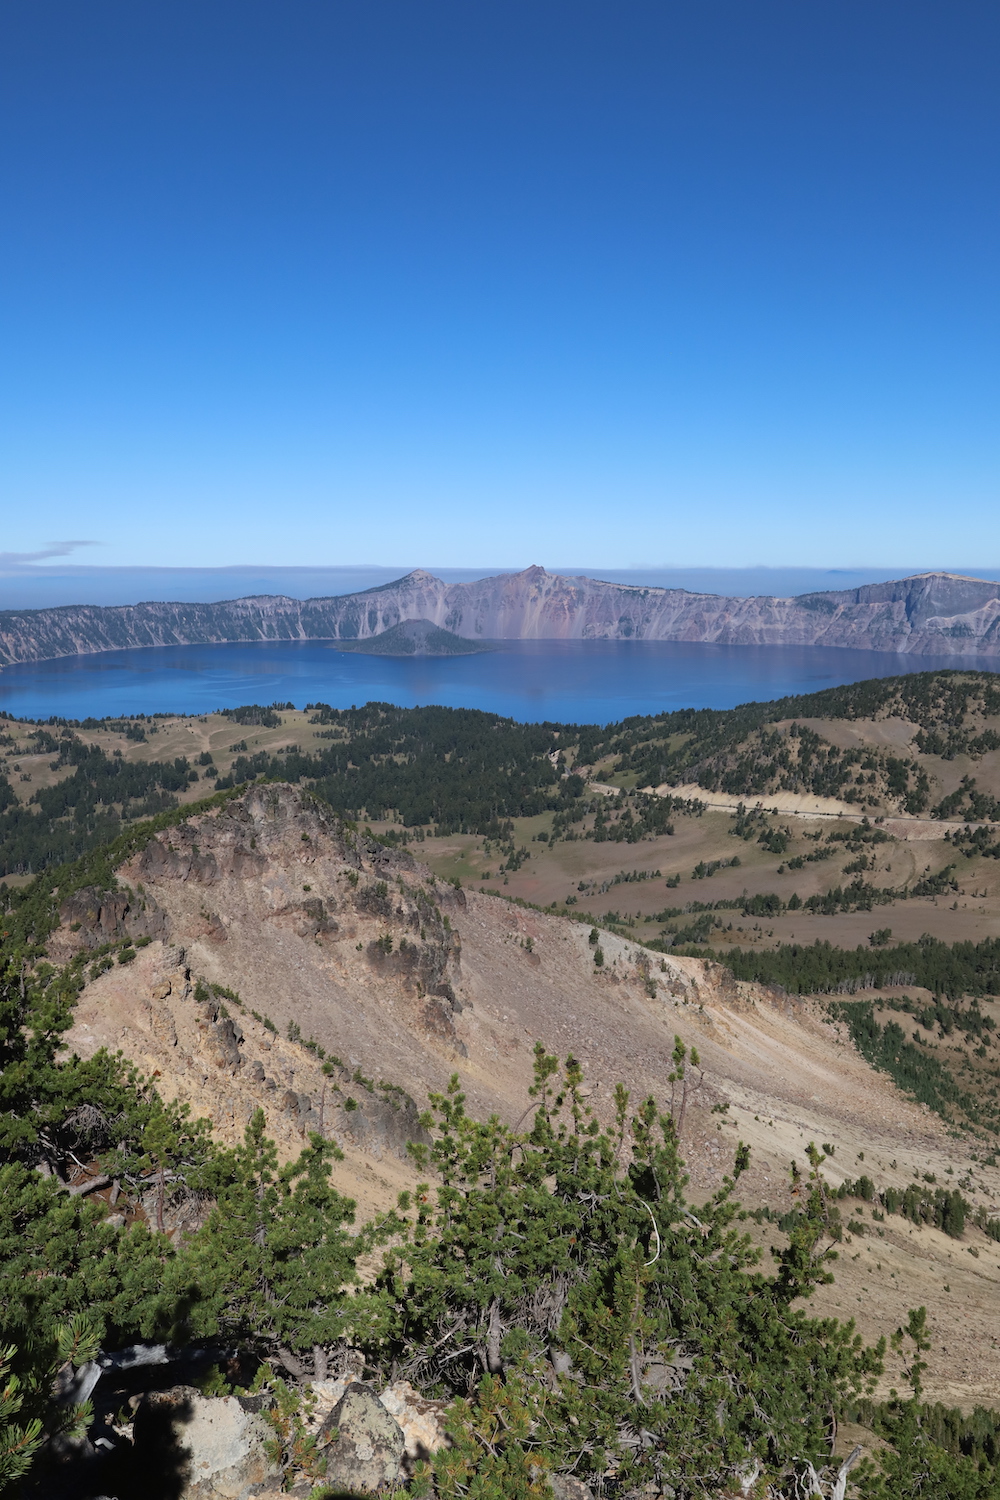
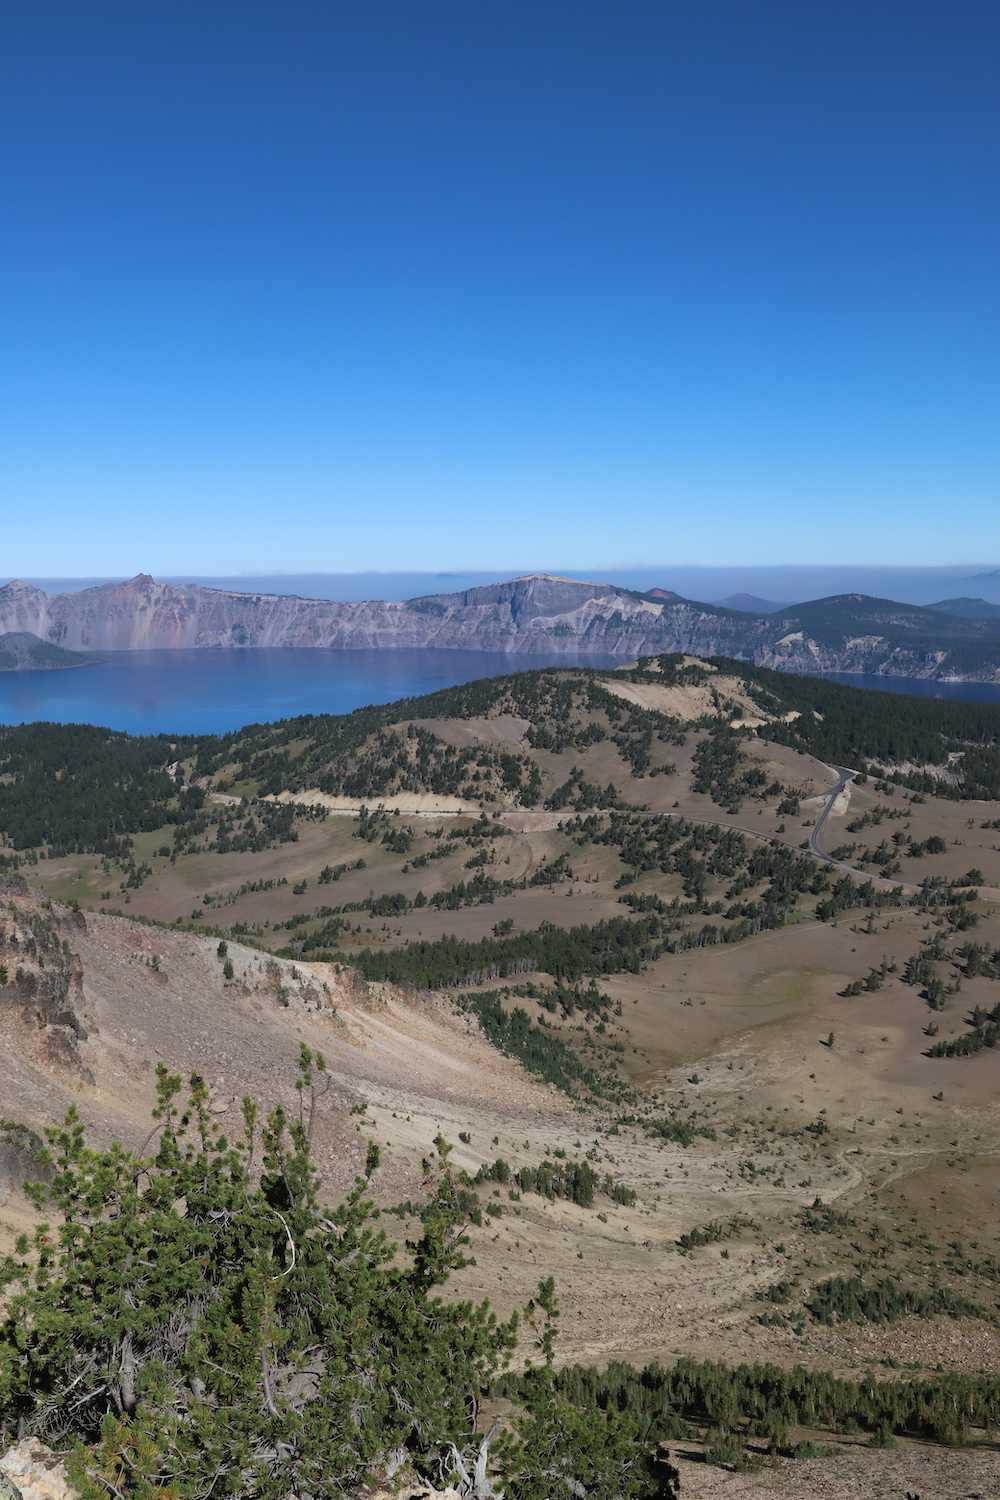
For this part of the project, I used my DSLR camera and set the manual setting to take pictures in the same composition for each shot. Then I stood in one place and took a couple of pictures while turning. This was for my homography mosaic portion of the project.
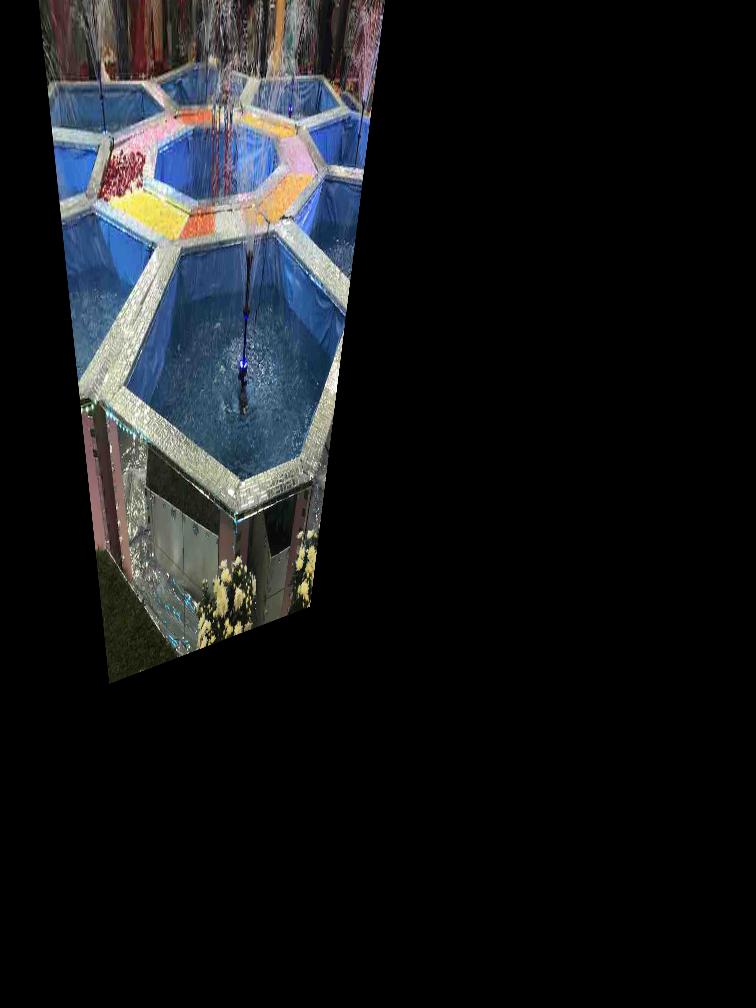
I also took some pictures of various surfaces for the rectification purpose.
I selected feature points on each image as corners or similarities clearly visible to me.

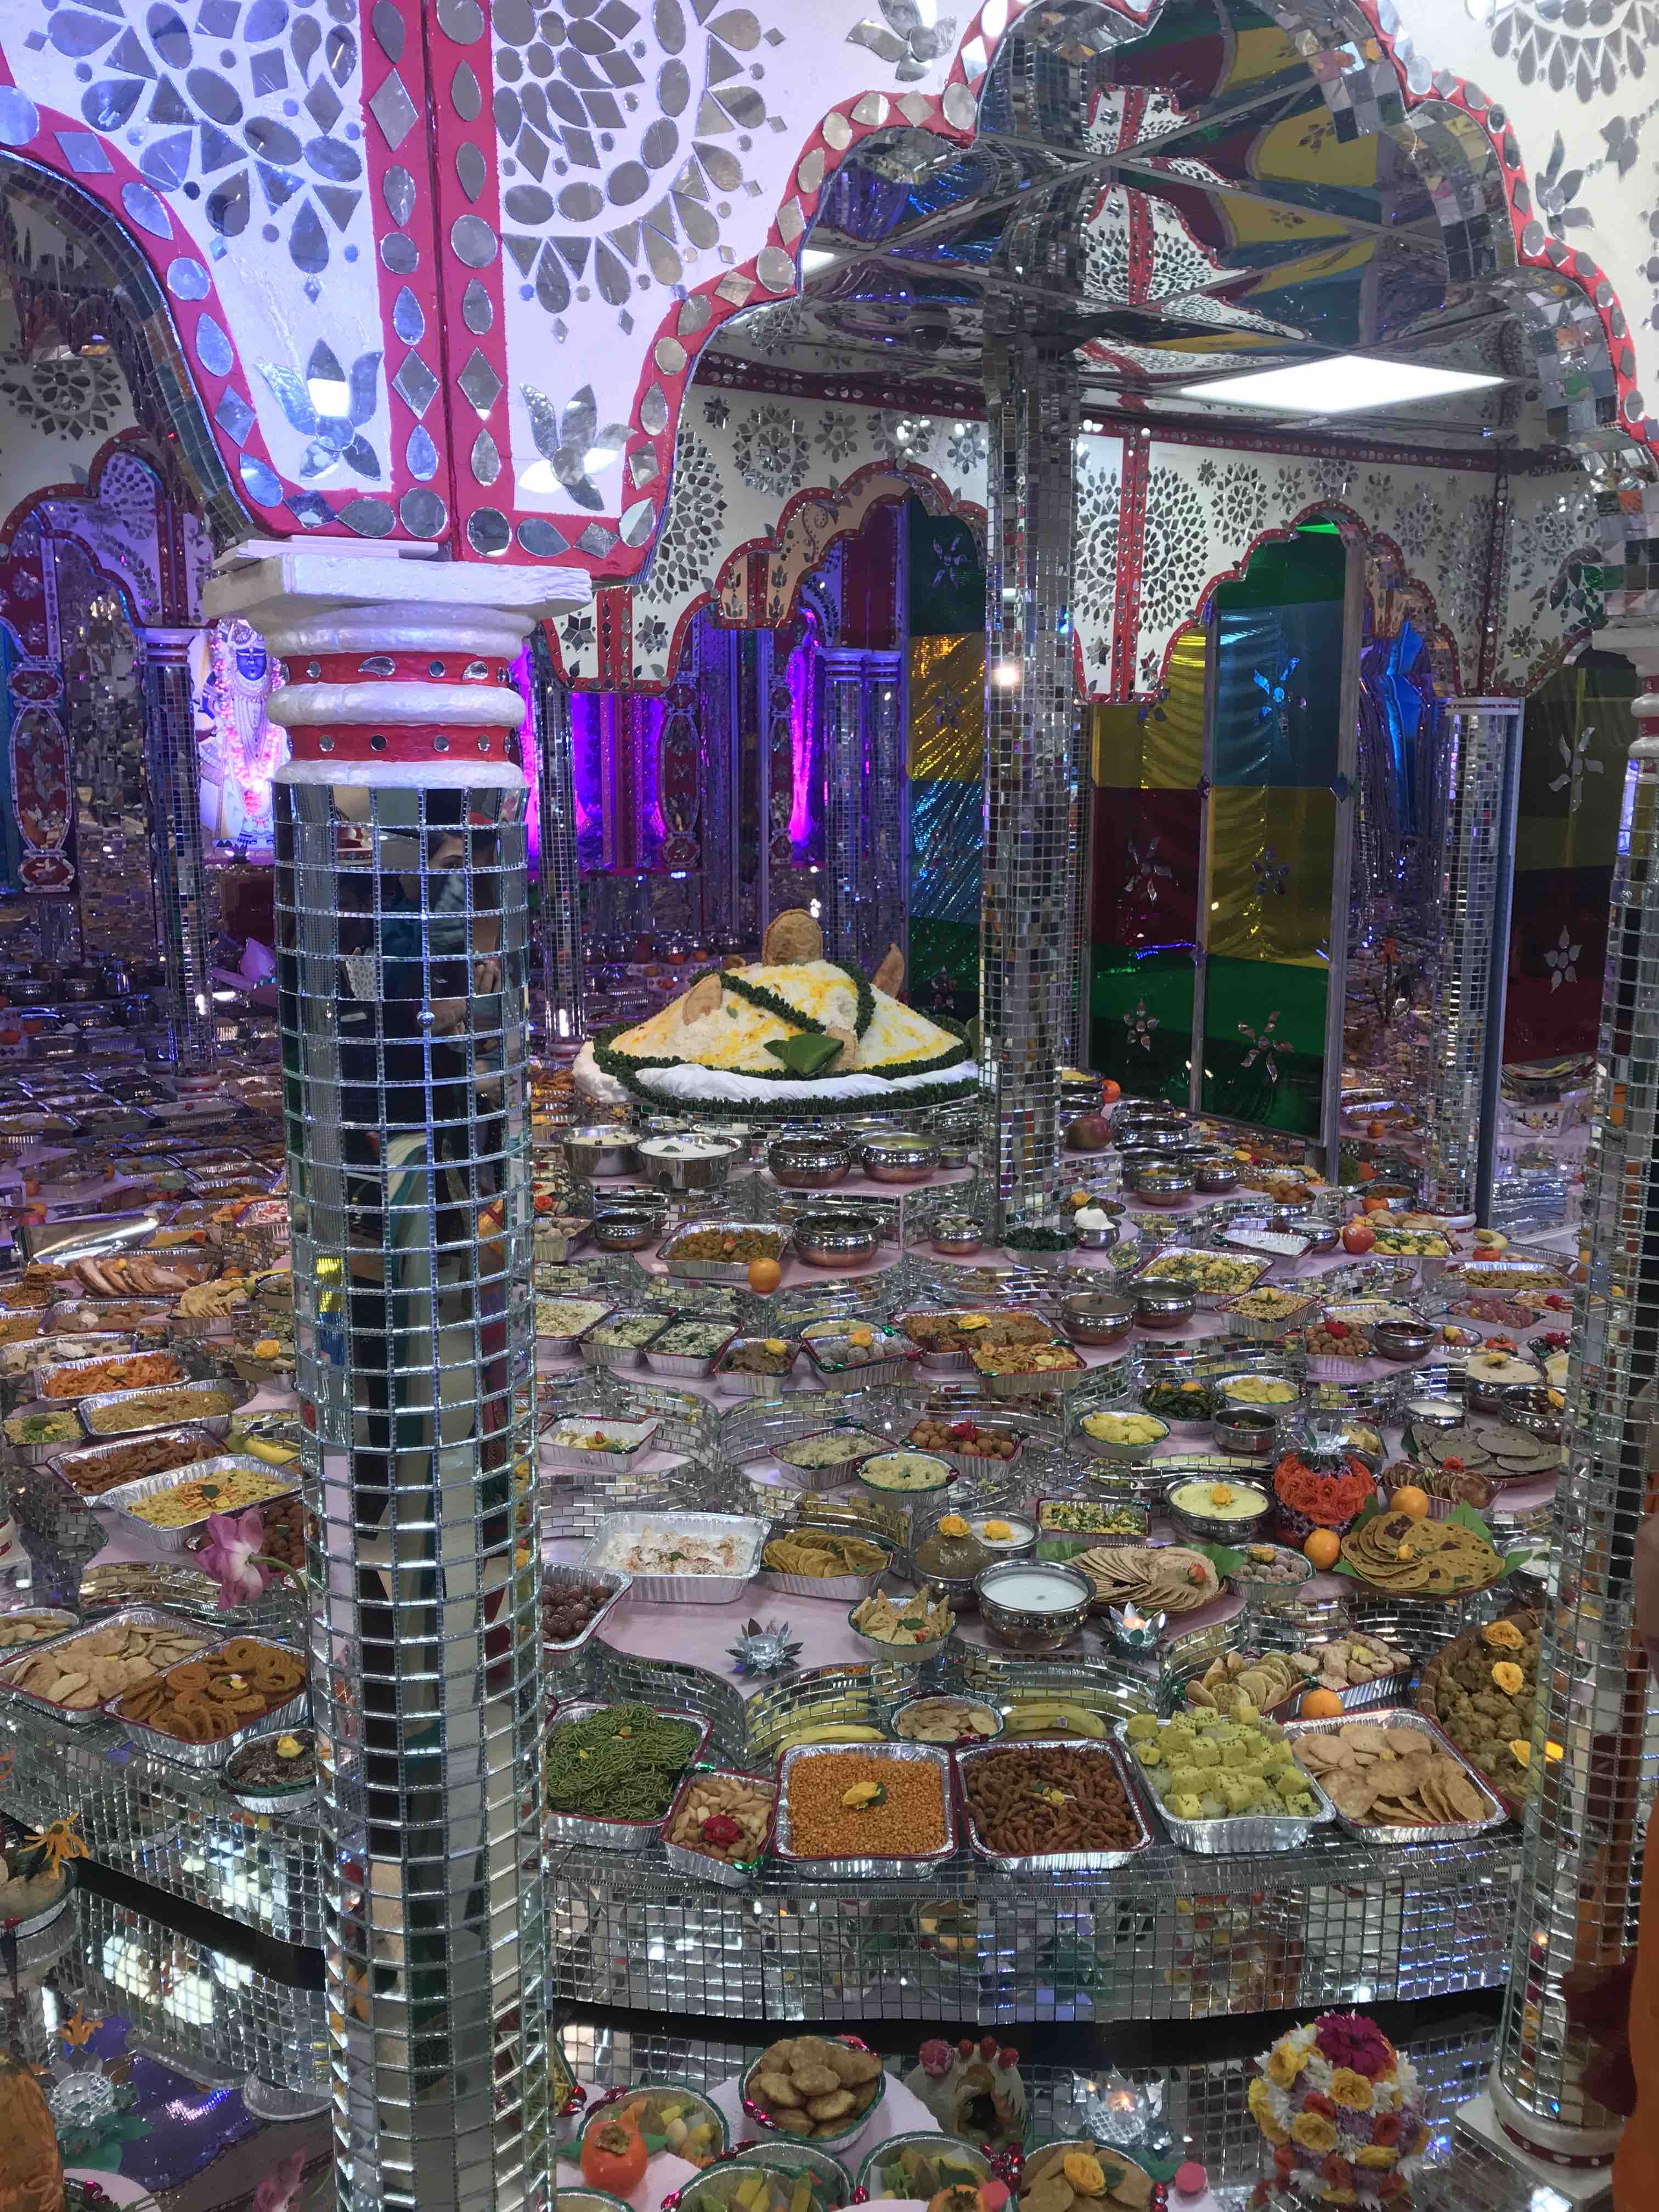
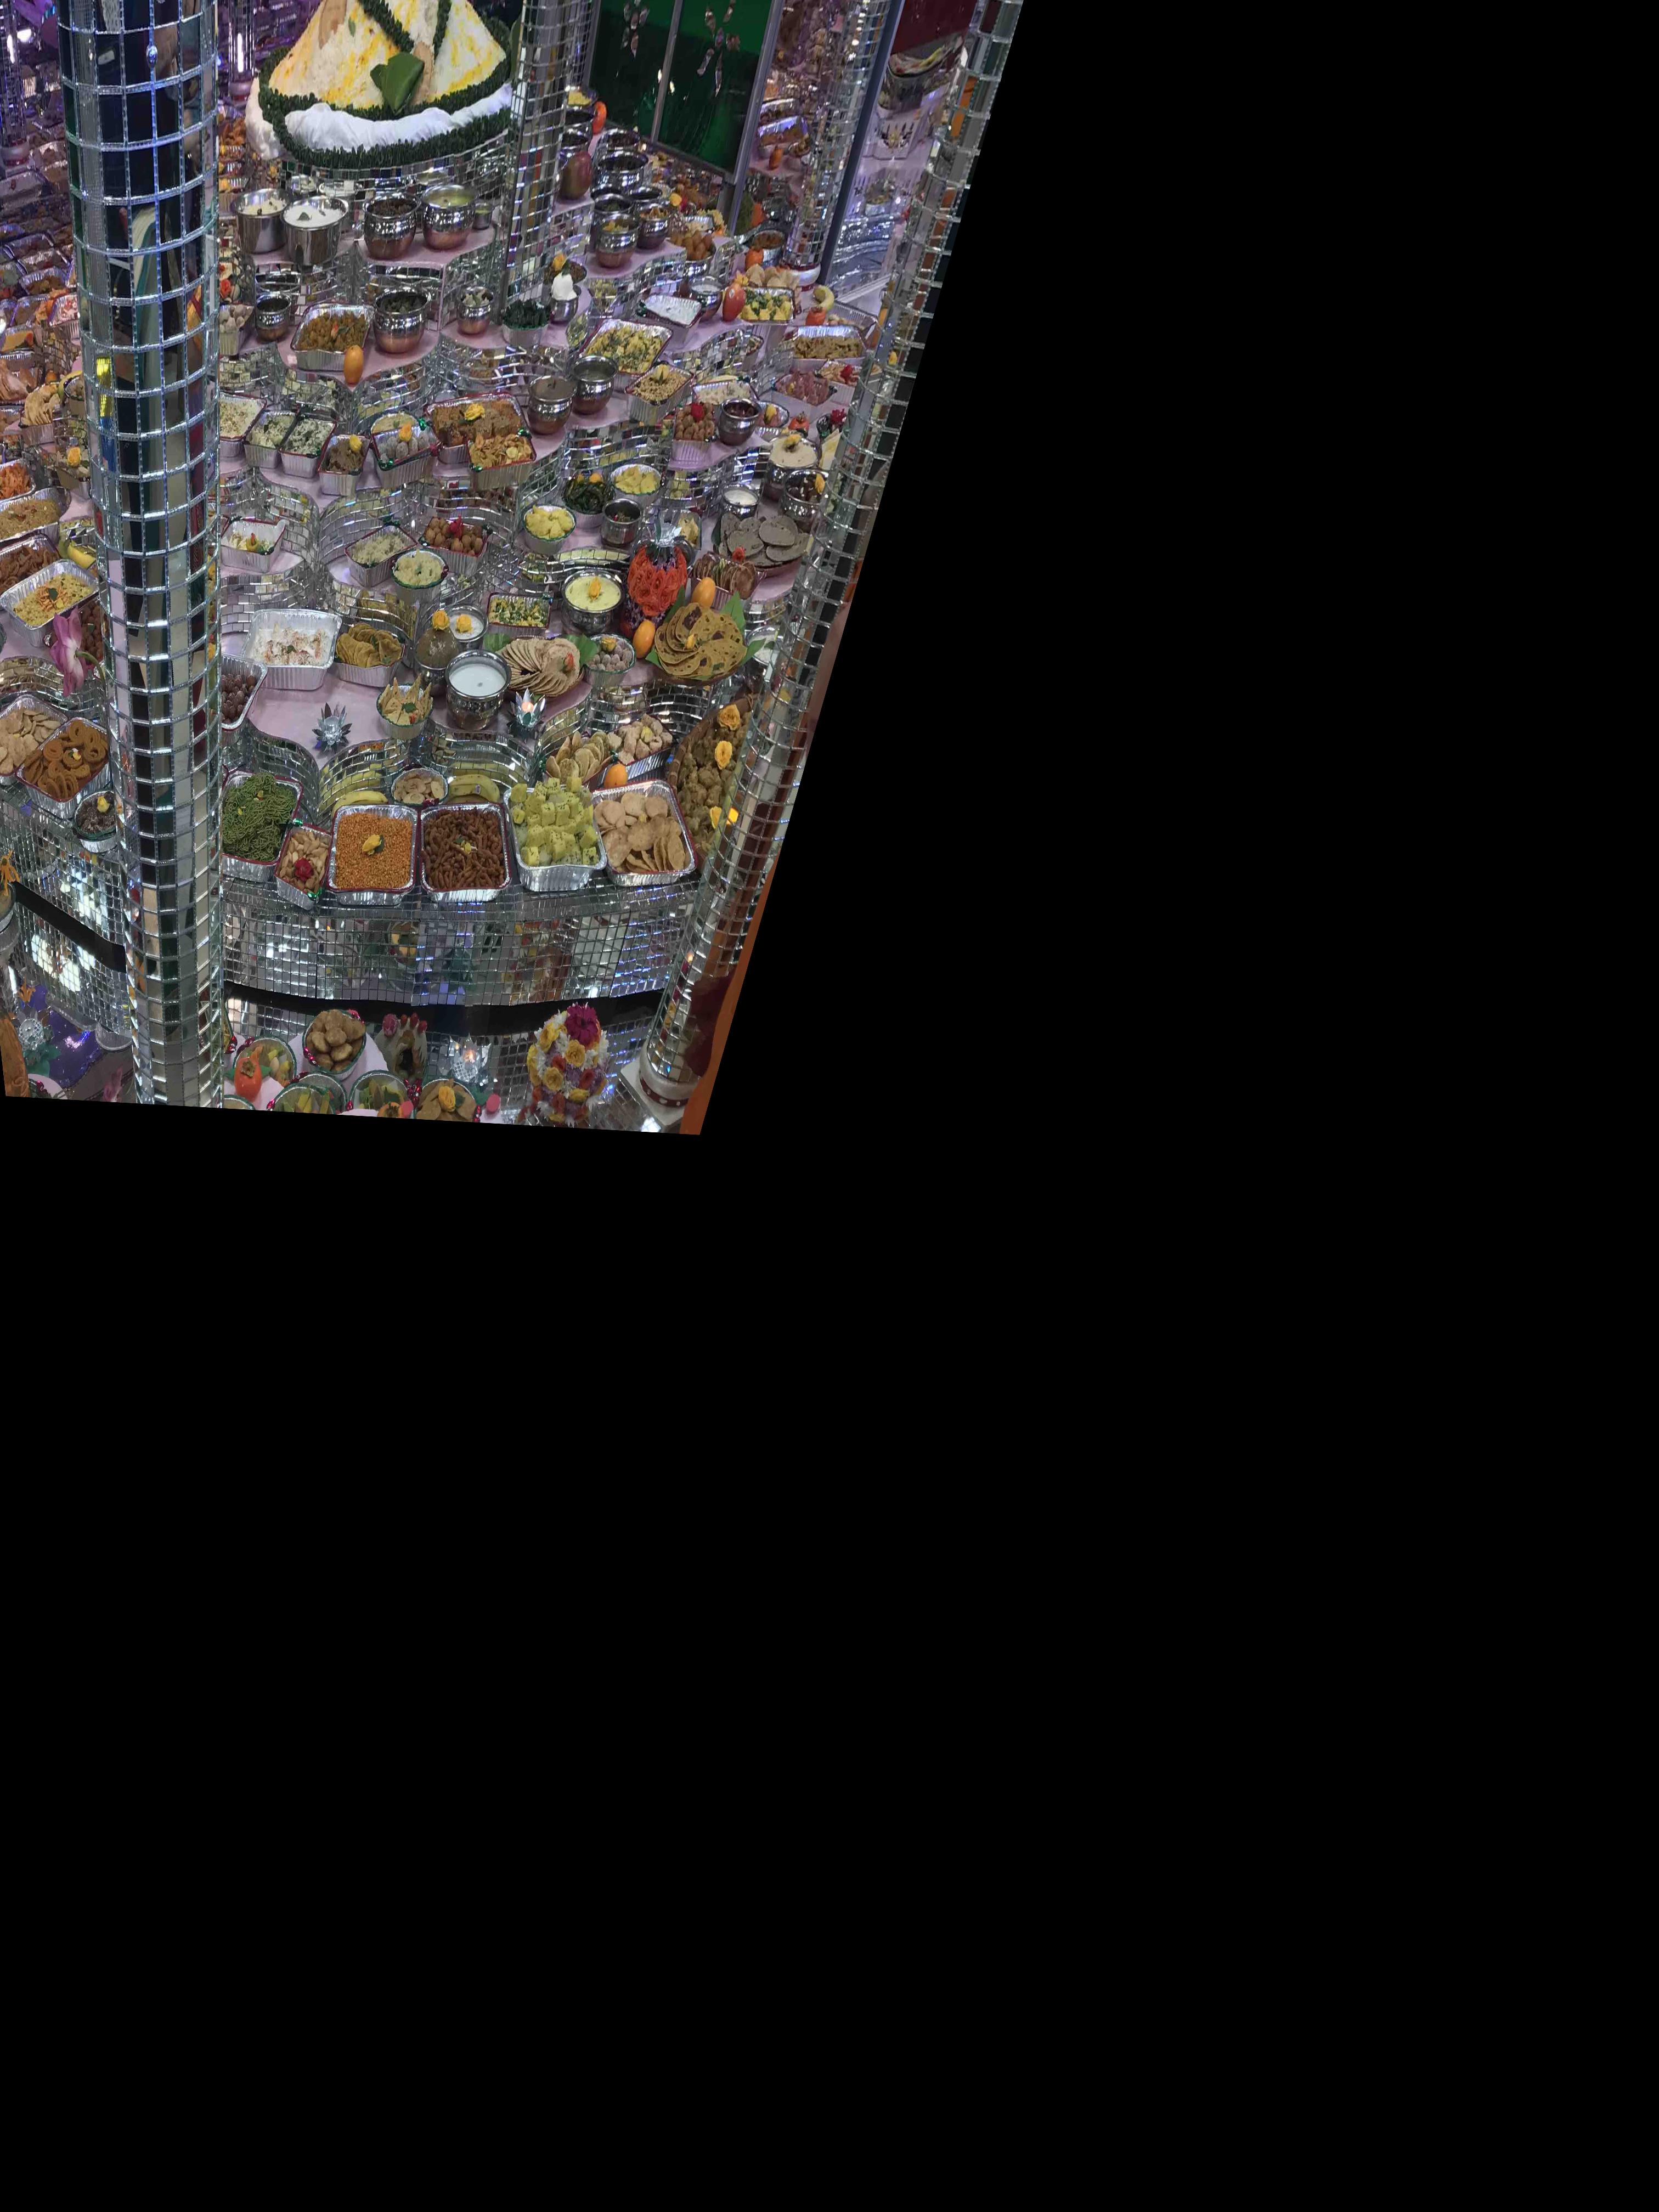
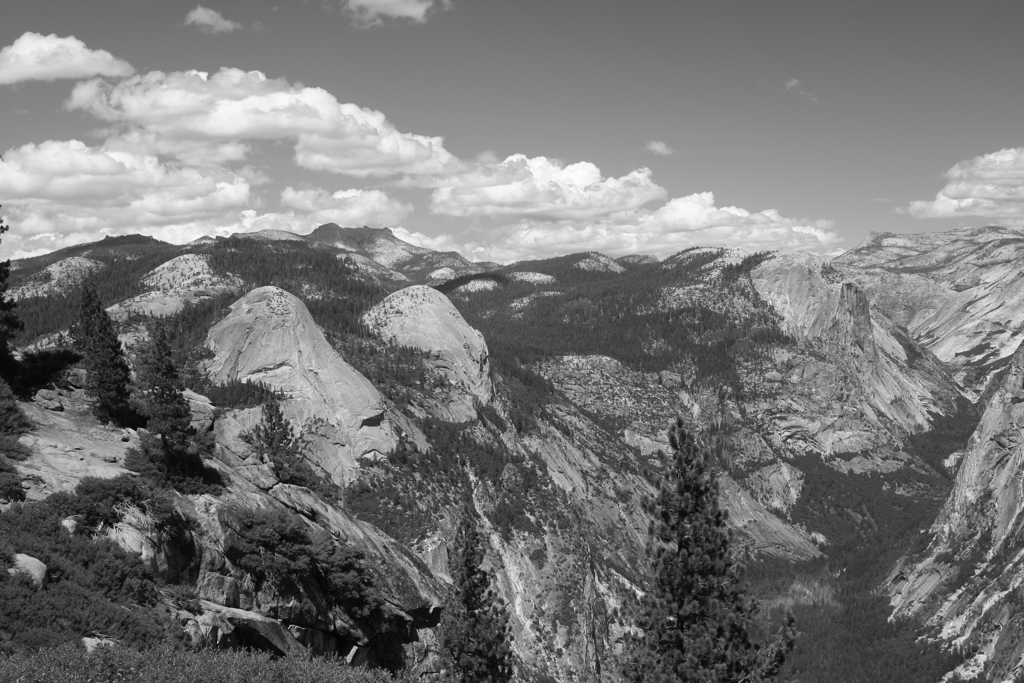
The first Image
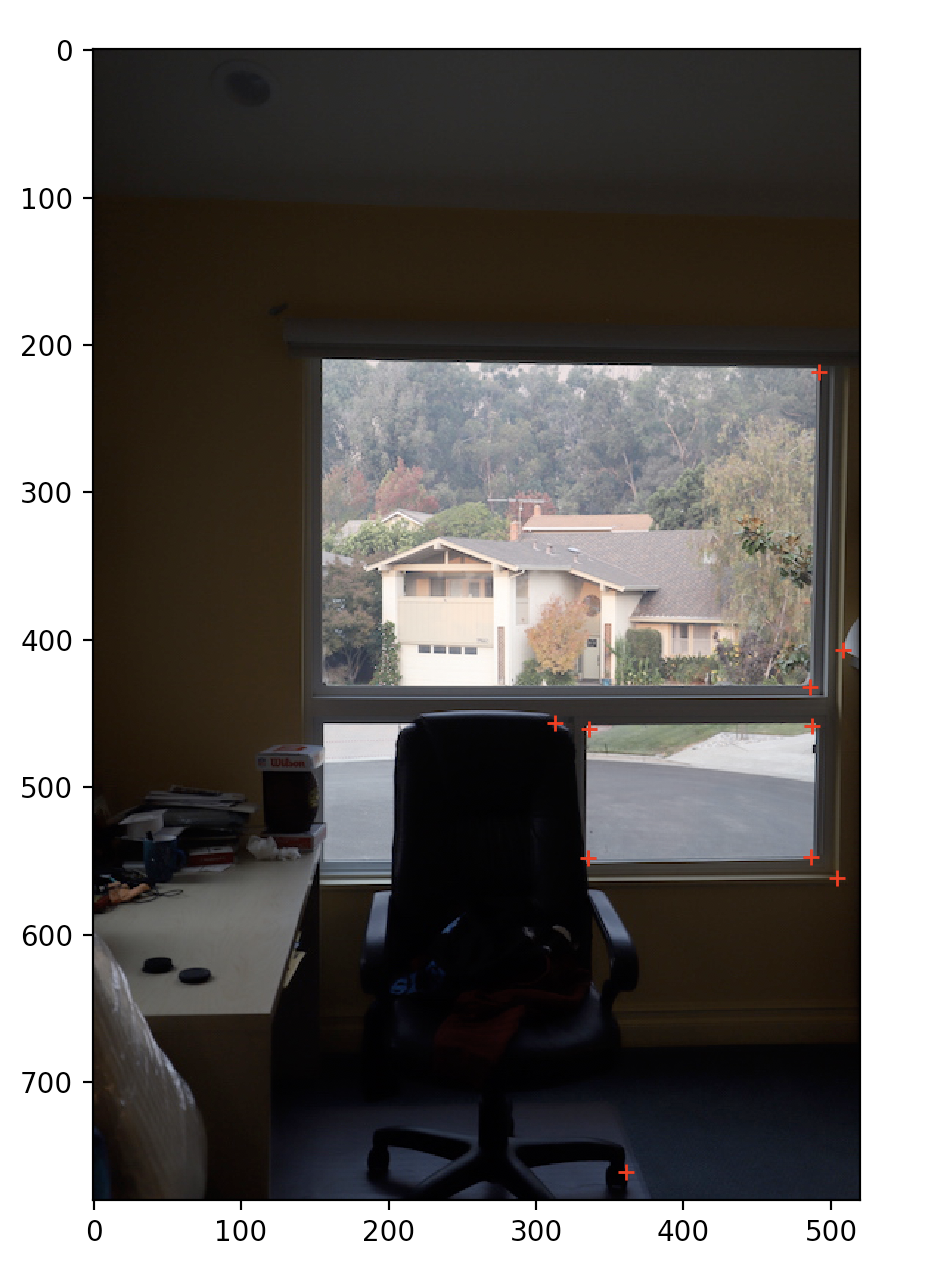
Selecting Points on the first image
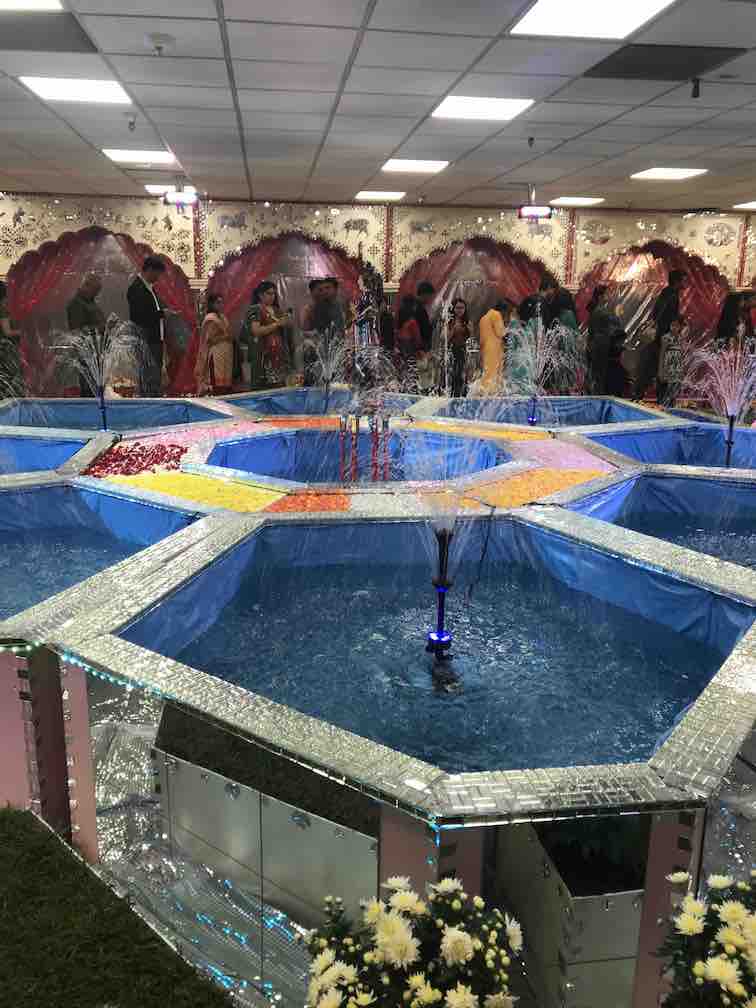
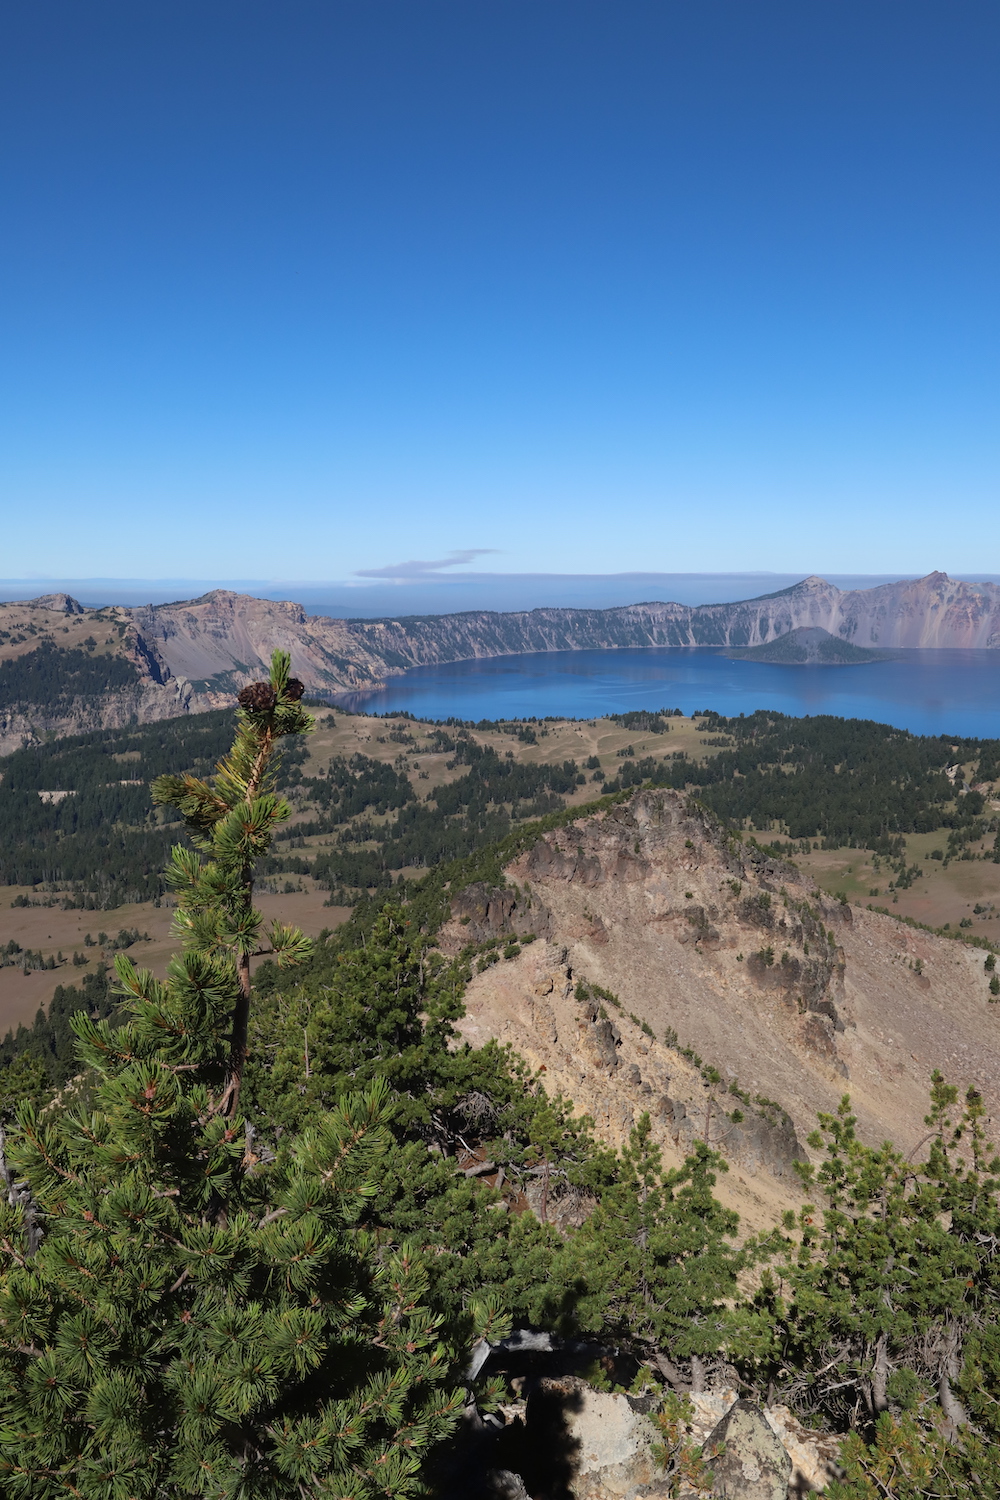
One of the rectification images.
Homographies and Warps
After selecting the points and creating the Homography code, I was able to warp the images to come up with something like this.

You can see a lot of the artifacts in this image, primarily because of using a forward warp instead of an inverse warp.
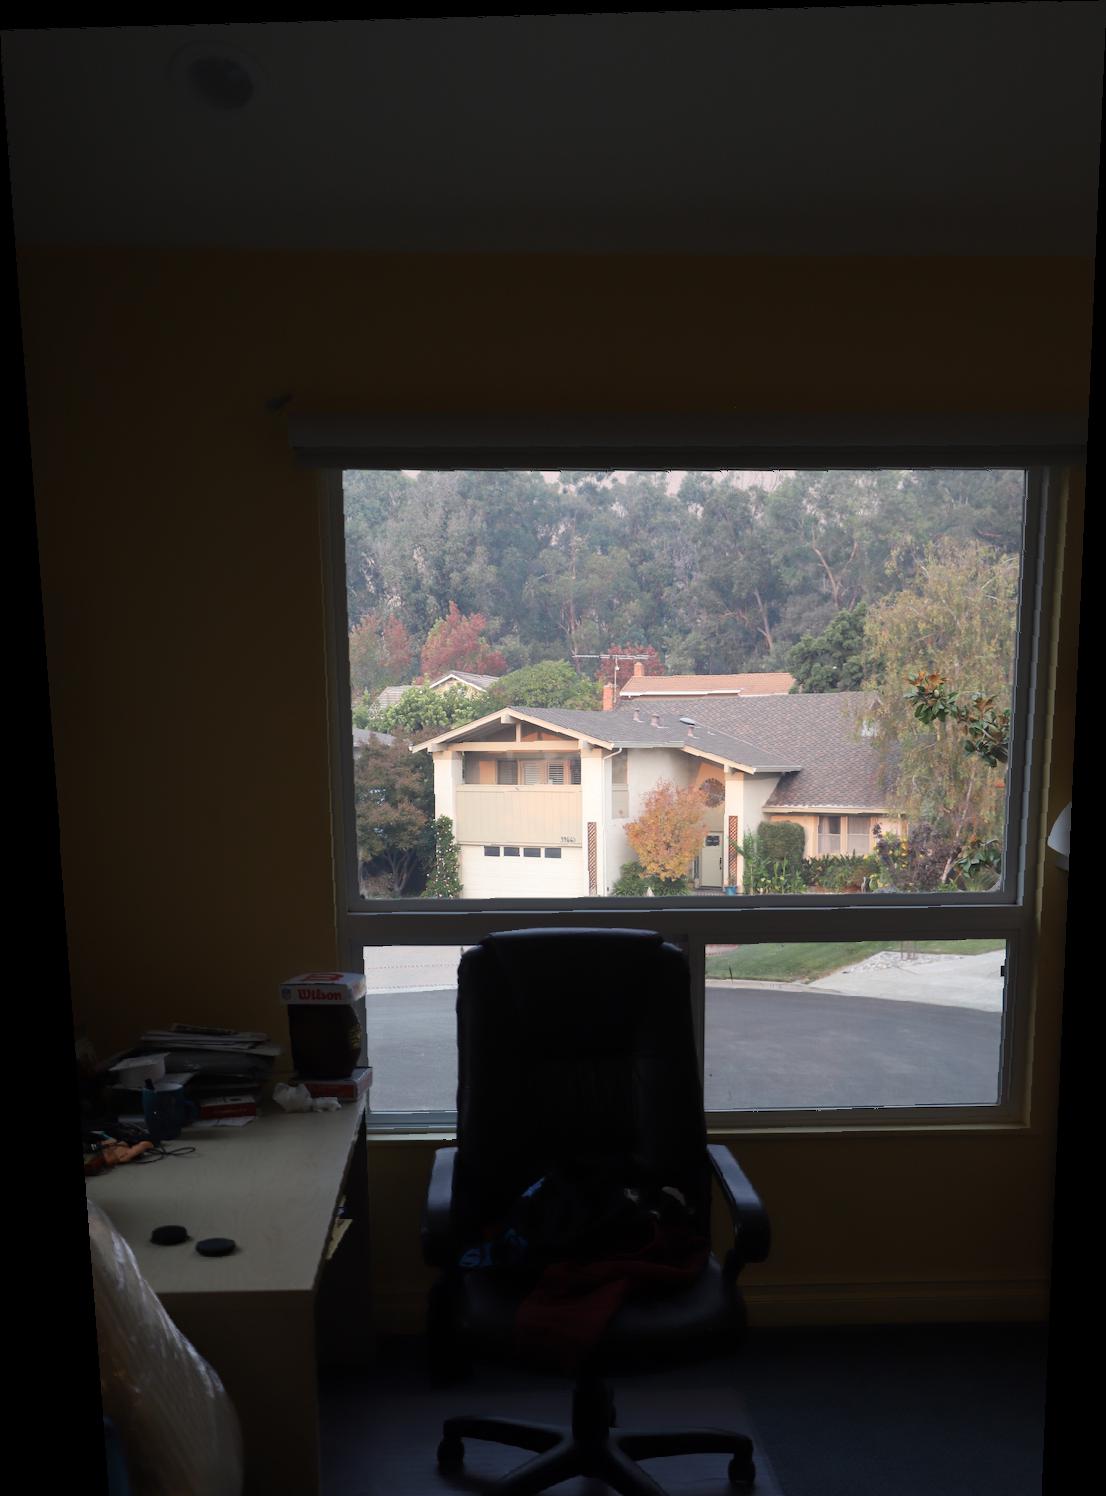
This is after using the inverse warp and I was able to interpolate points in the image.
Rectification
To rectify the images, I defined a couplr of square shapes in a variety of sizes as well. Then, I called my warp algorithm on the source image with the square points.
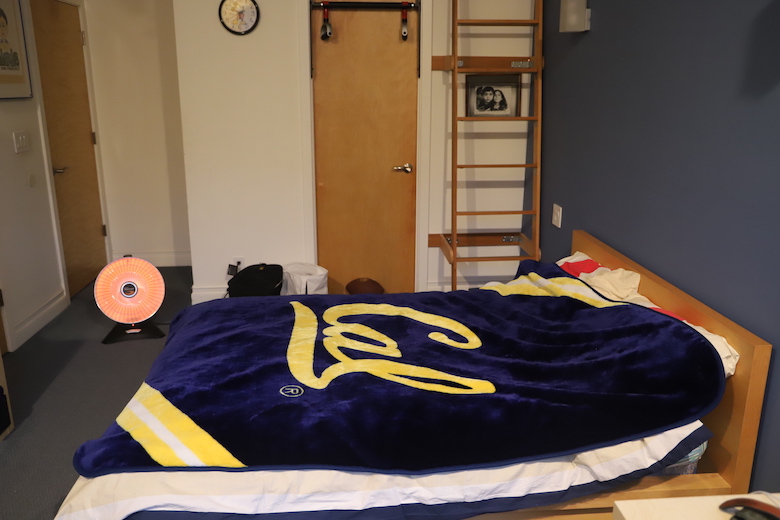
A picture of my blanket.
Here is a small rectification
Here is a larger rectification
Some other examples
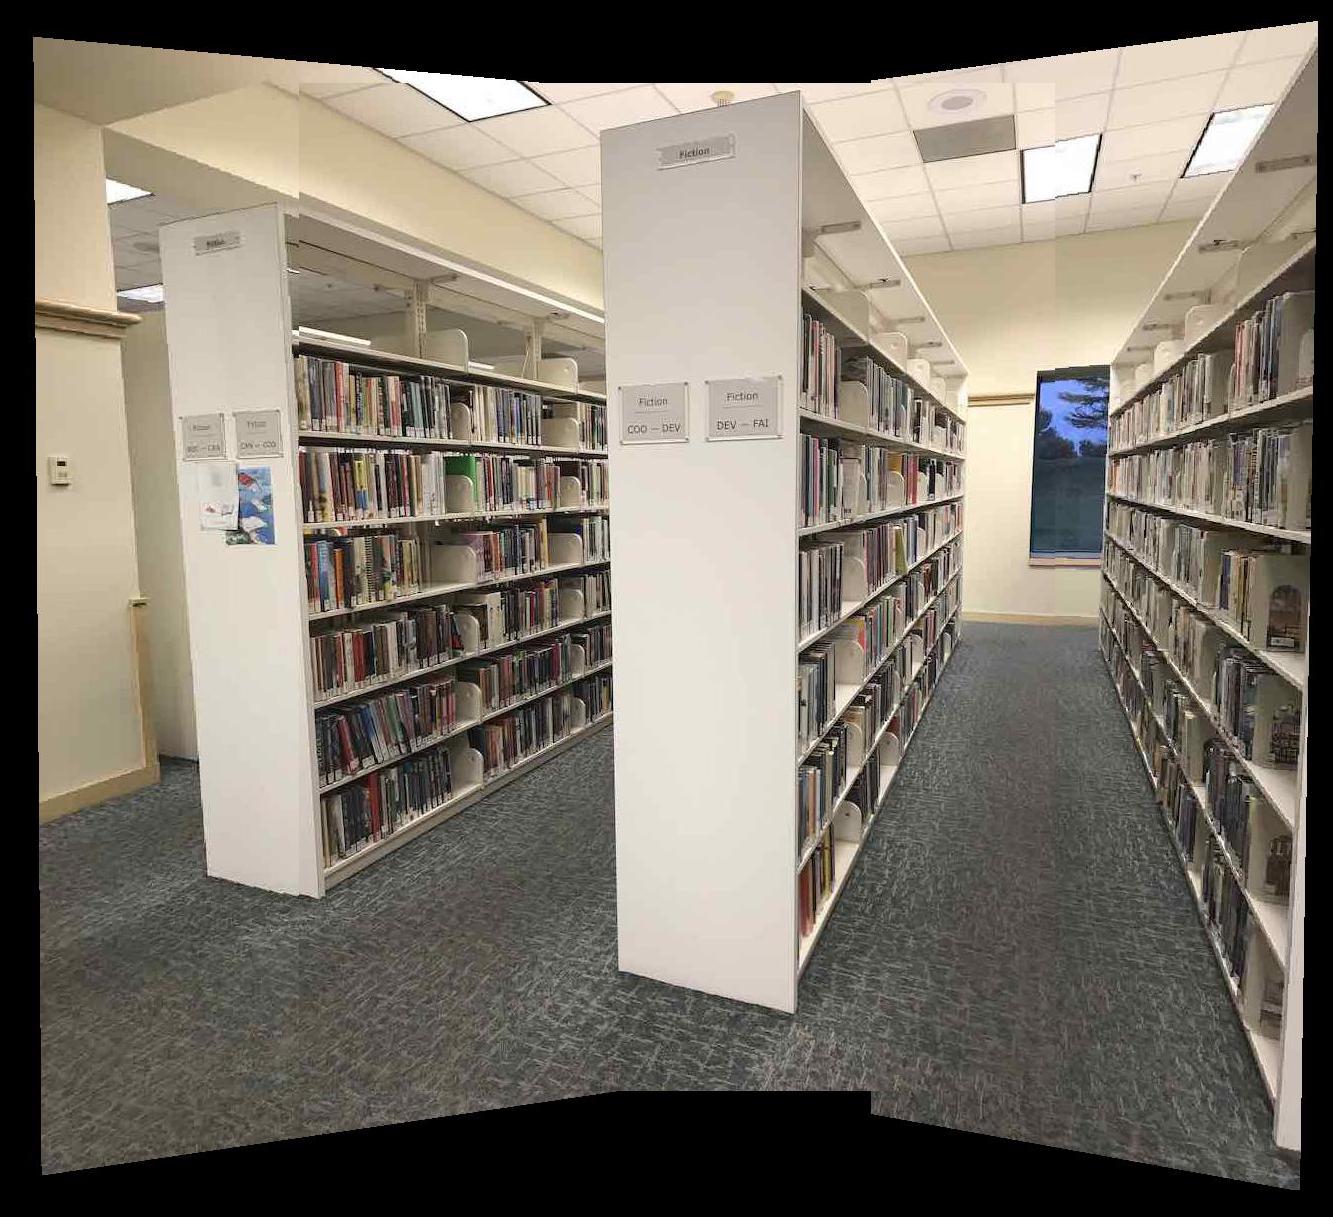
Merge Mosaics
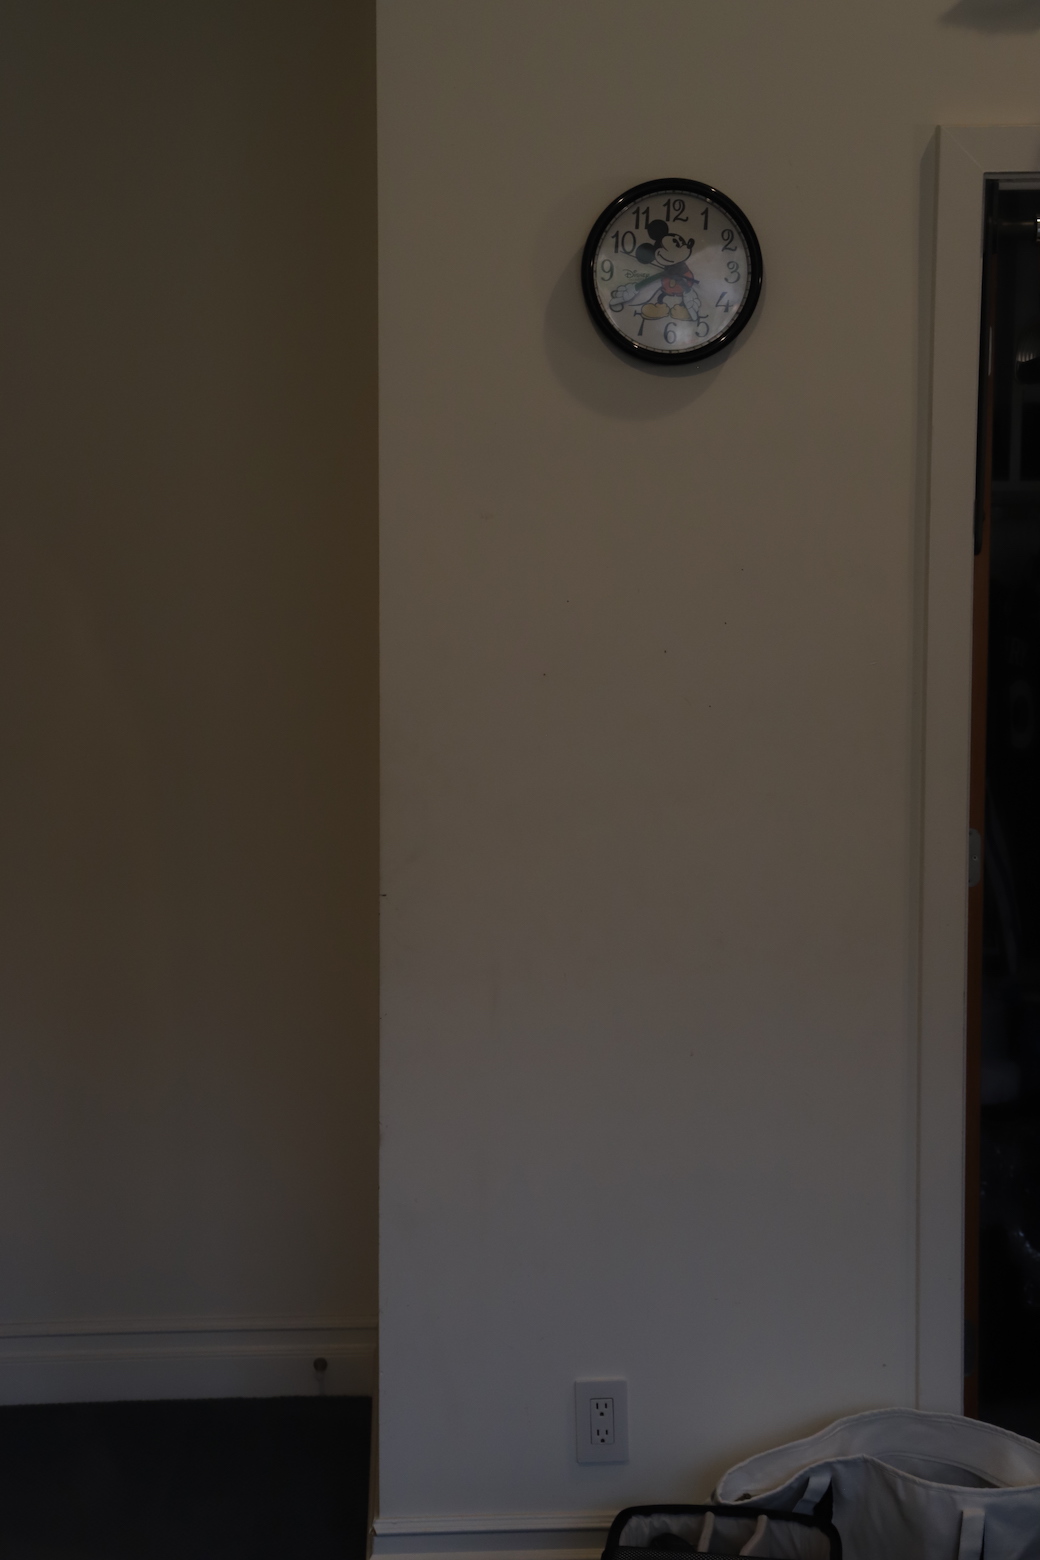
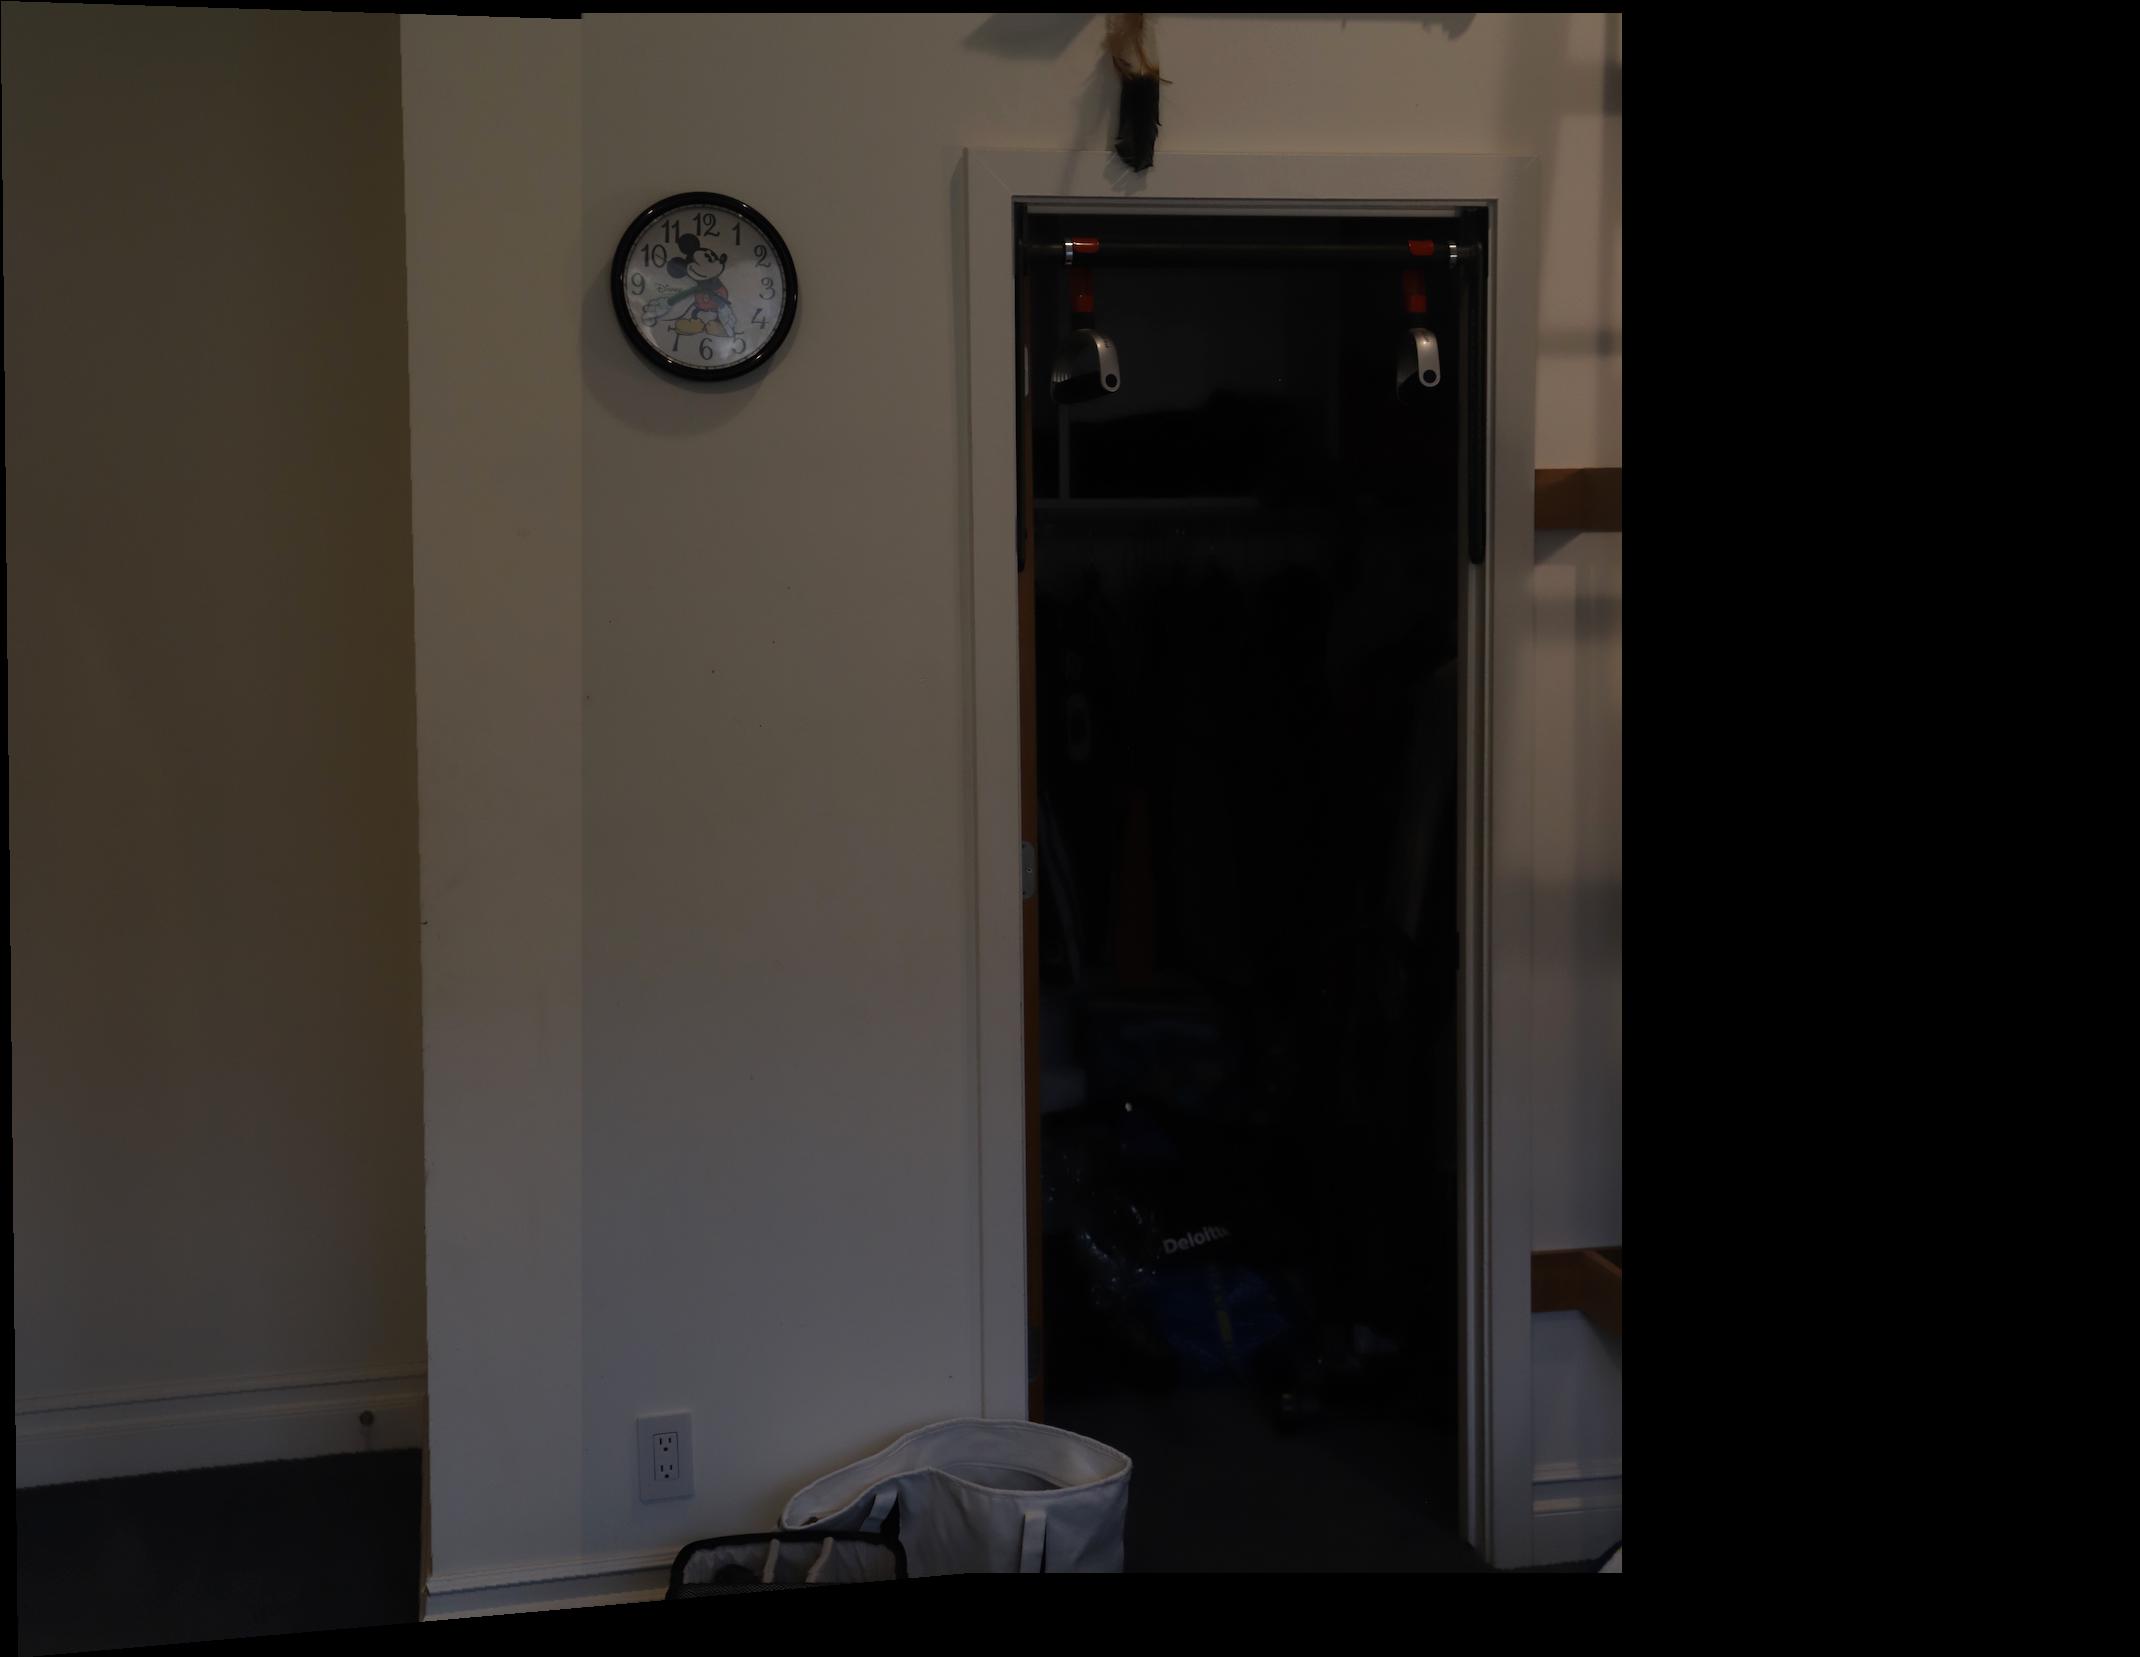
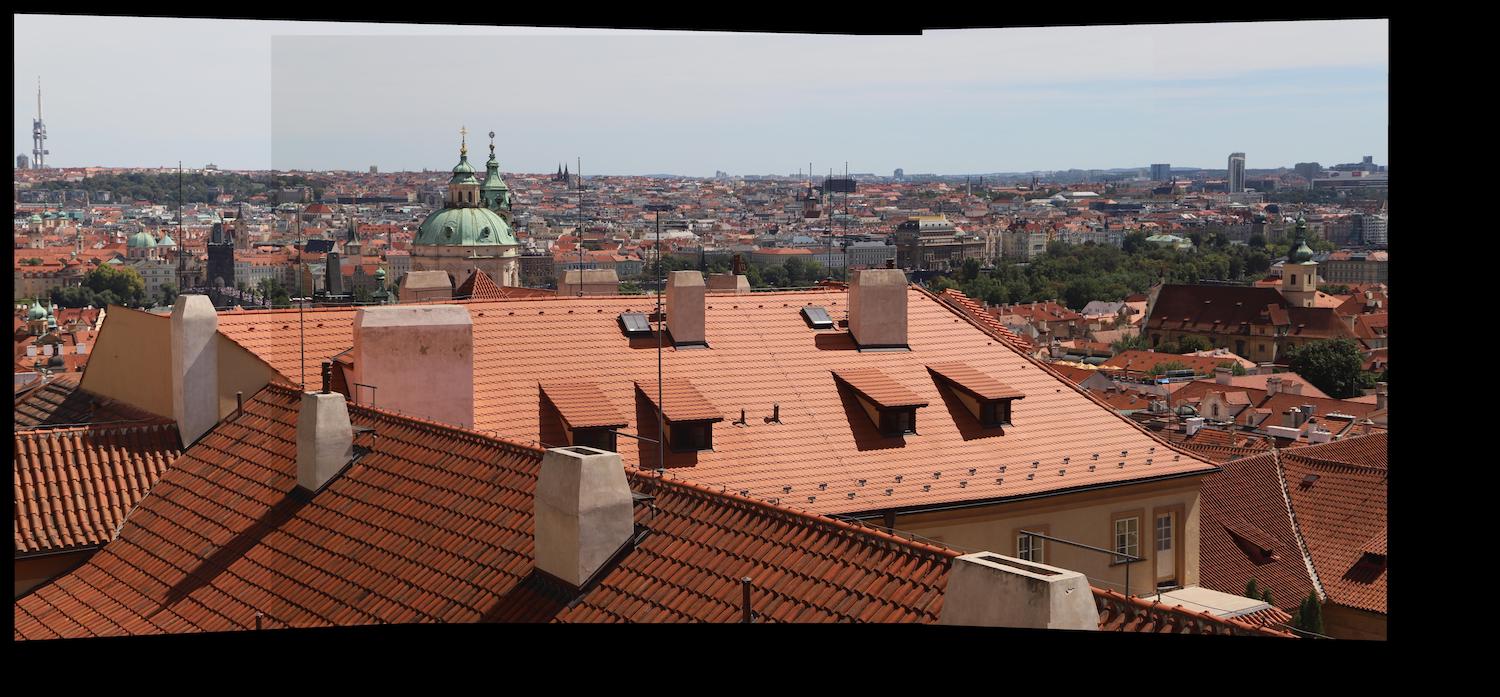
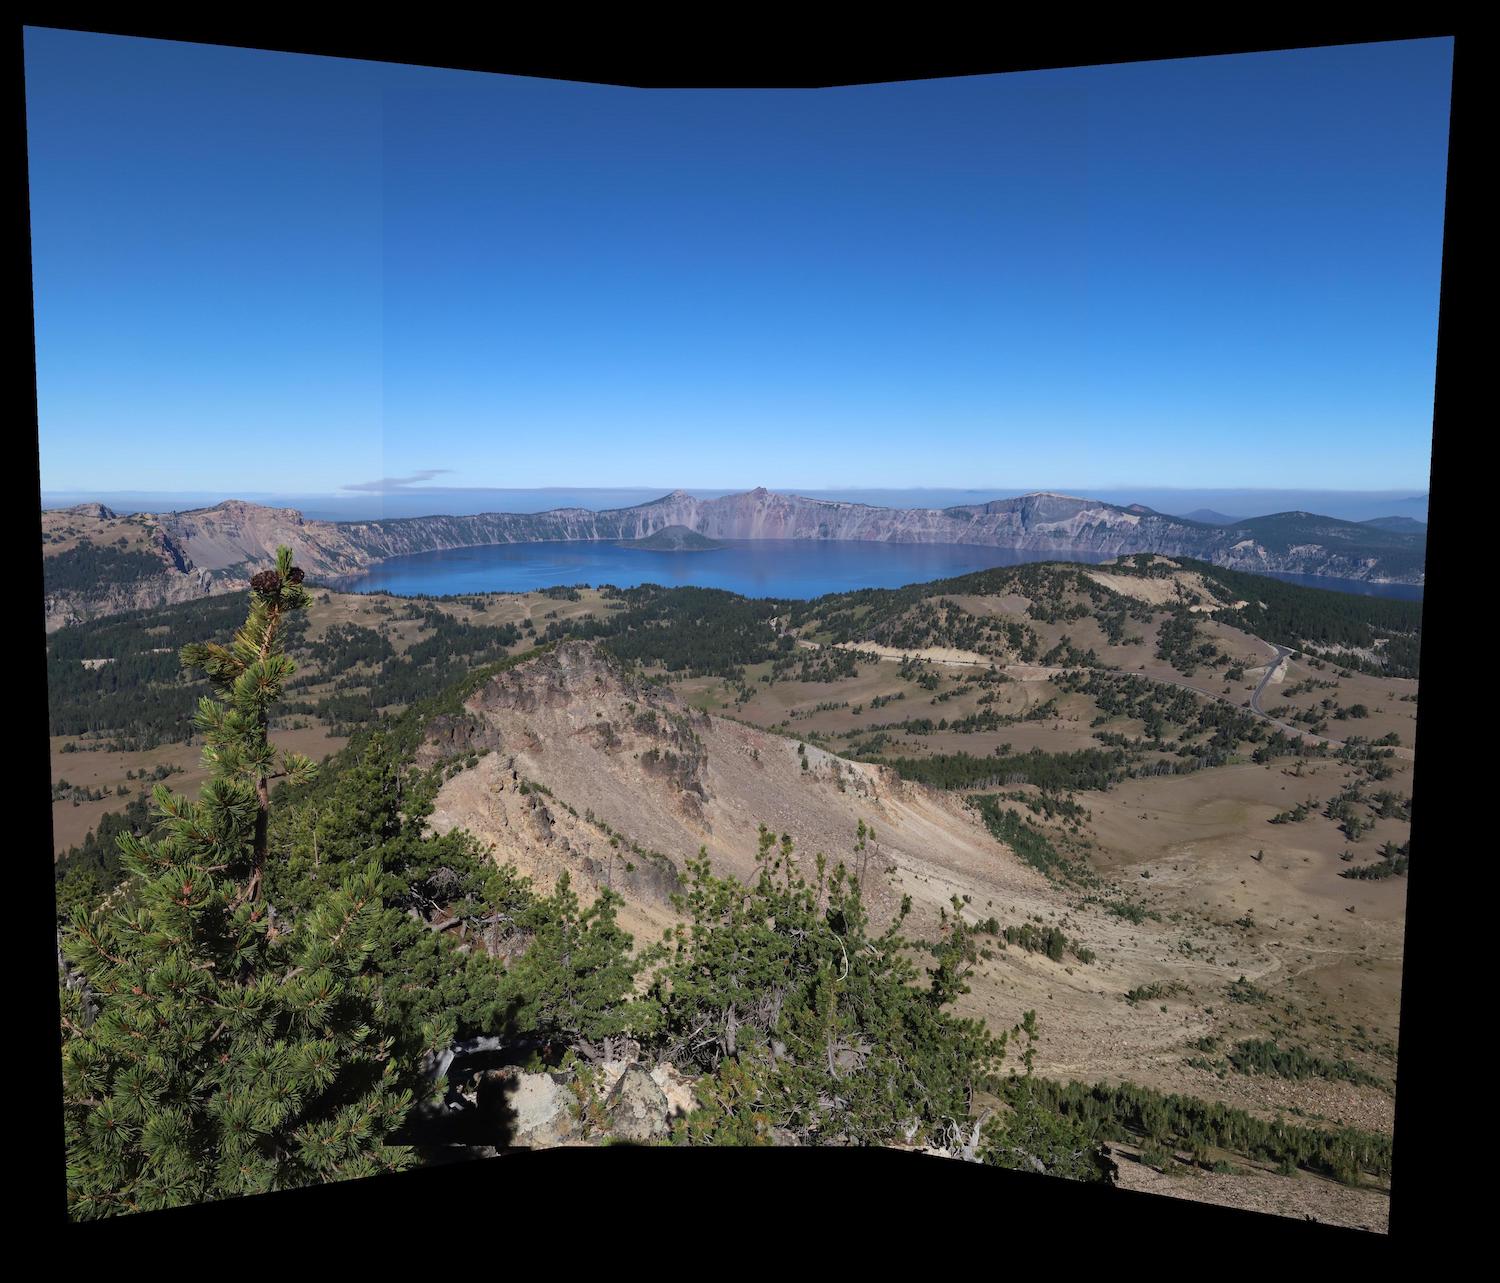
To blend the images, I did a linear blend across the seam of the two images, and aligned the images by taking a feature point, applying the homography and calculating the transformation for that point. After that, it became a direct mapping because the warped left image and the planar right image were now in the same plane. Some examples are shown below.
And another example

And another example
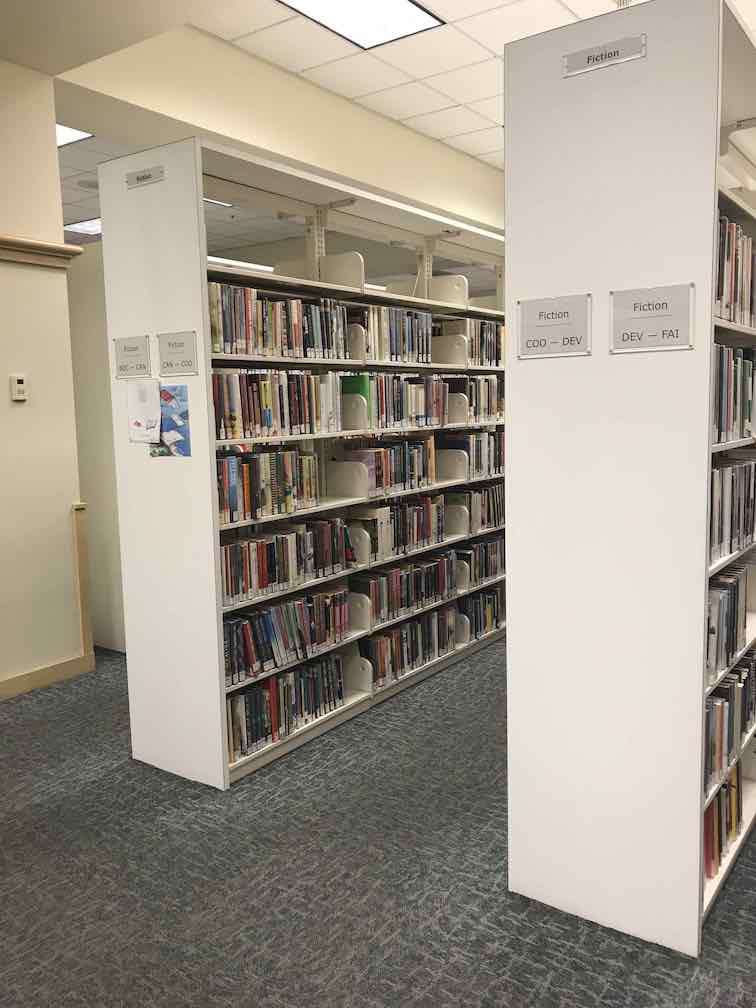
Here you can see the alignment is almost perfect if you look at the floorboards near the bottom of the image. The blend leaves some discoloring but overall a good fit.
What I learned: I learned a lot about the linear algebra behind warping and homographies and how the panoramas on our phones are created in very easy manners. The work behind it was very hard though and I'm glad I learned how the program can be built in an efficient manner using vectorization and inverse warping to interpolate points.
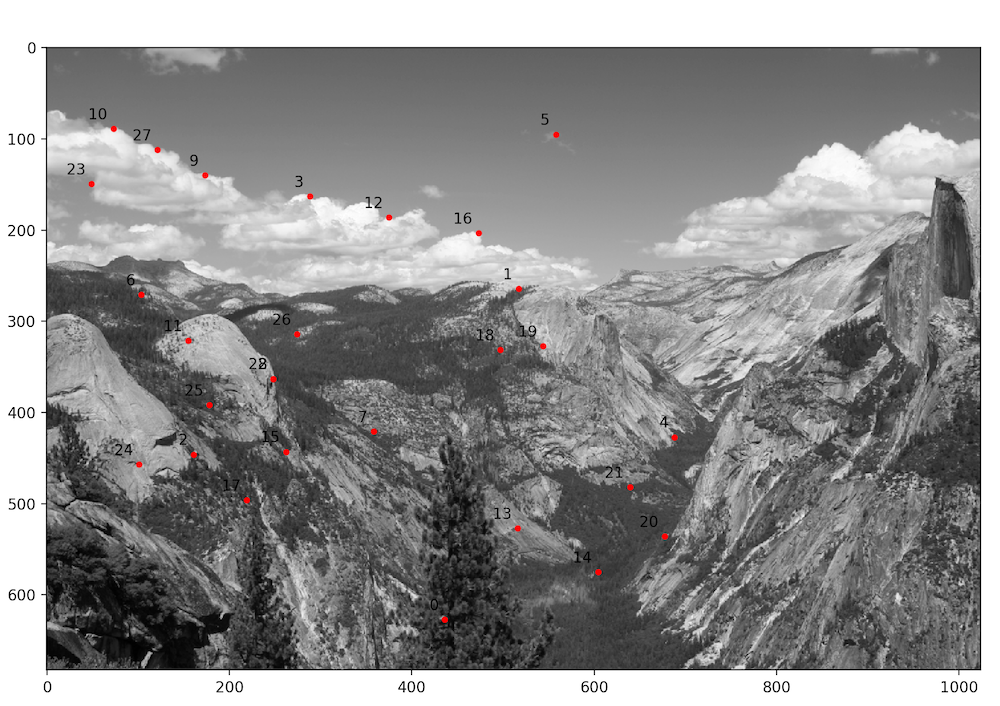
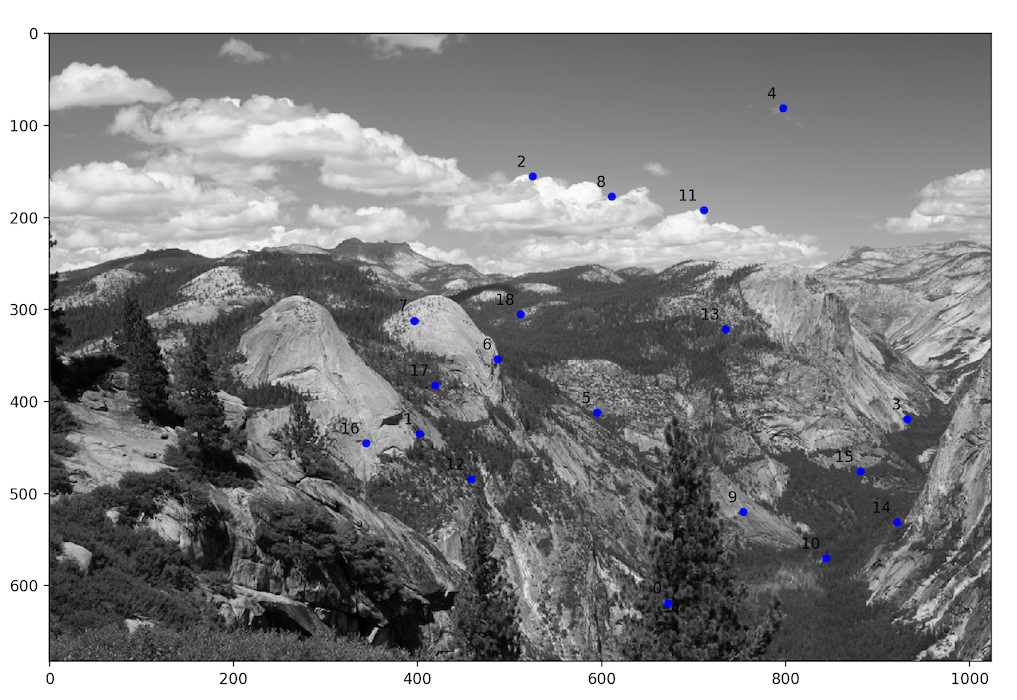
For the beginning of part B, I began by using the Harris Interest Point detector to find major corner and unique points that could potentially be correspondent. The math can be found and explained below as by wikipedia ("https://en.wikipedia.org/wiki/Corner_detection") although we did not implement this ourselves, so there is no further explanation of the math.
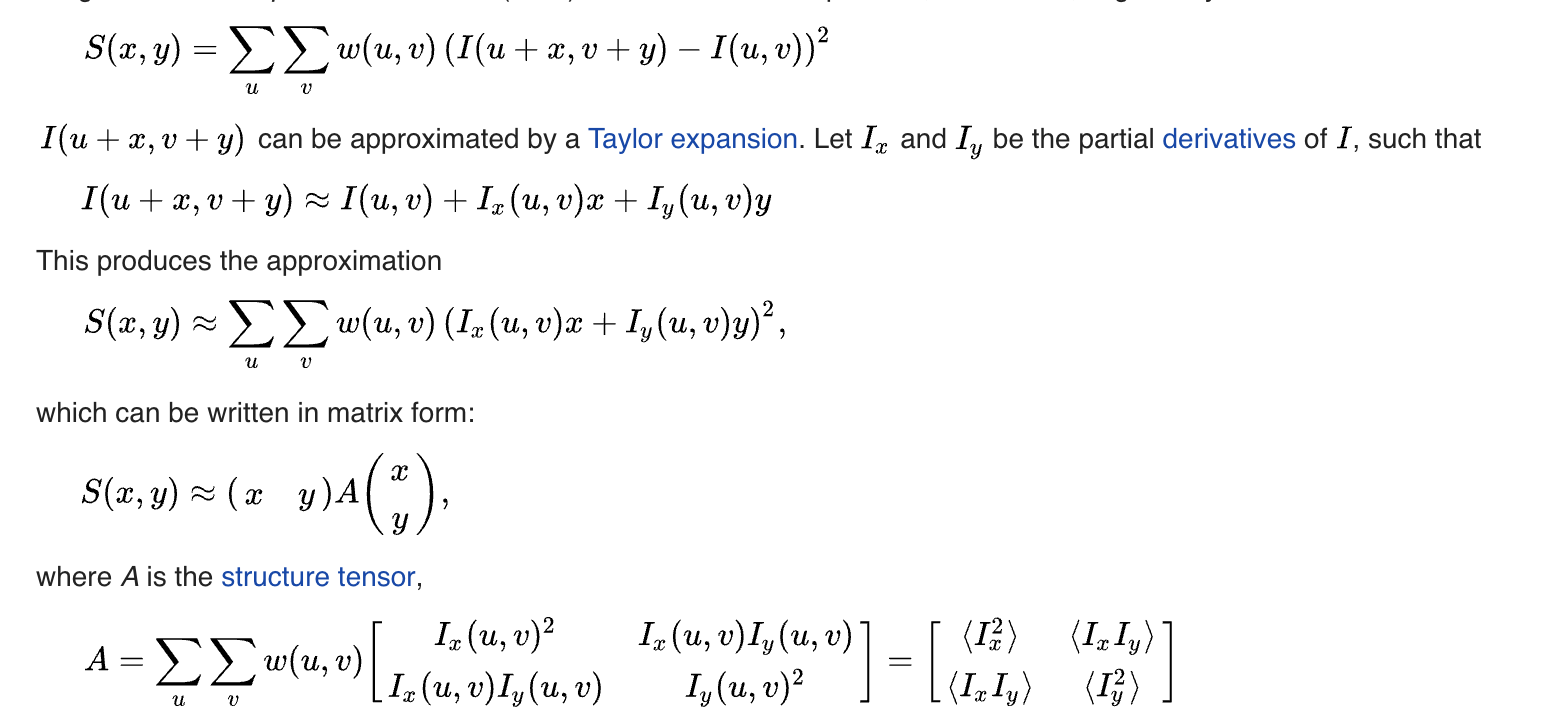
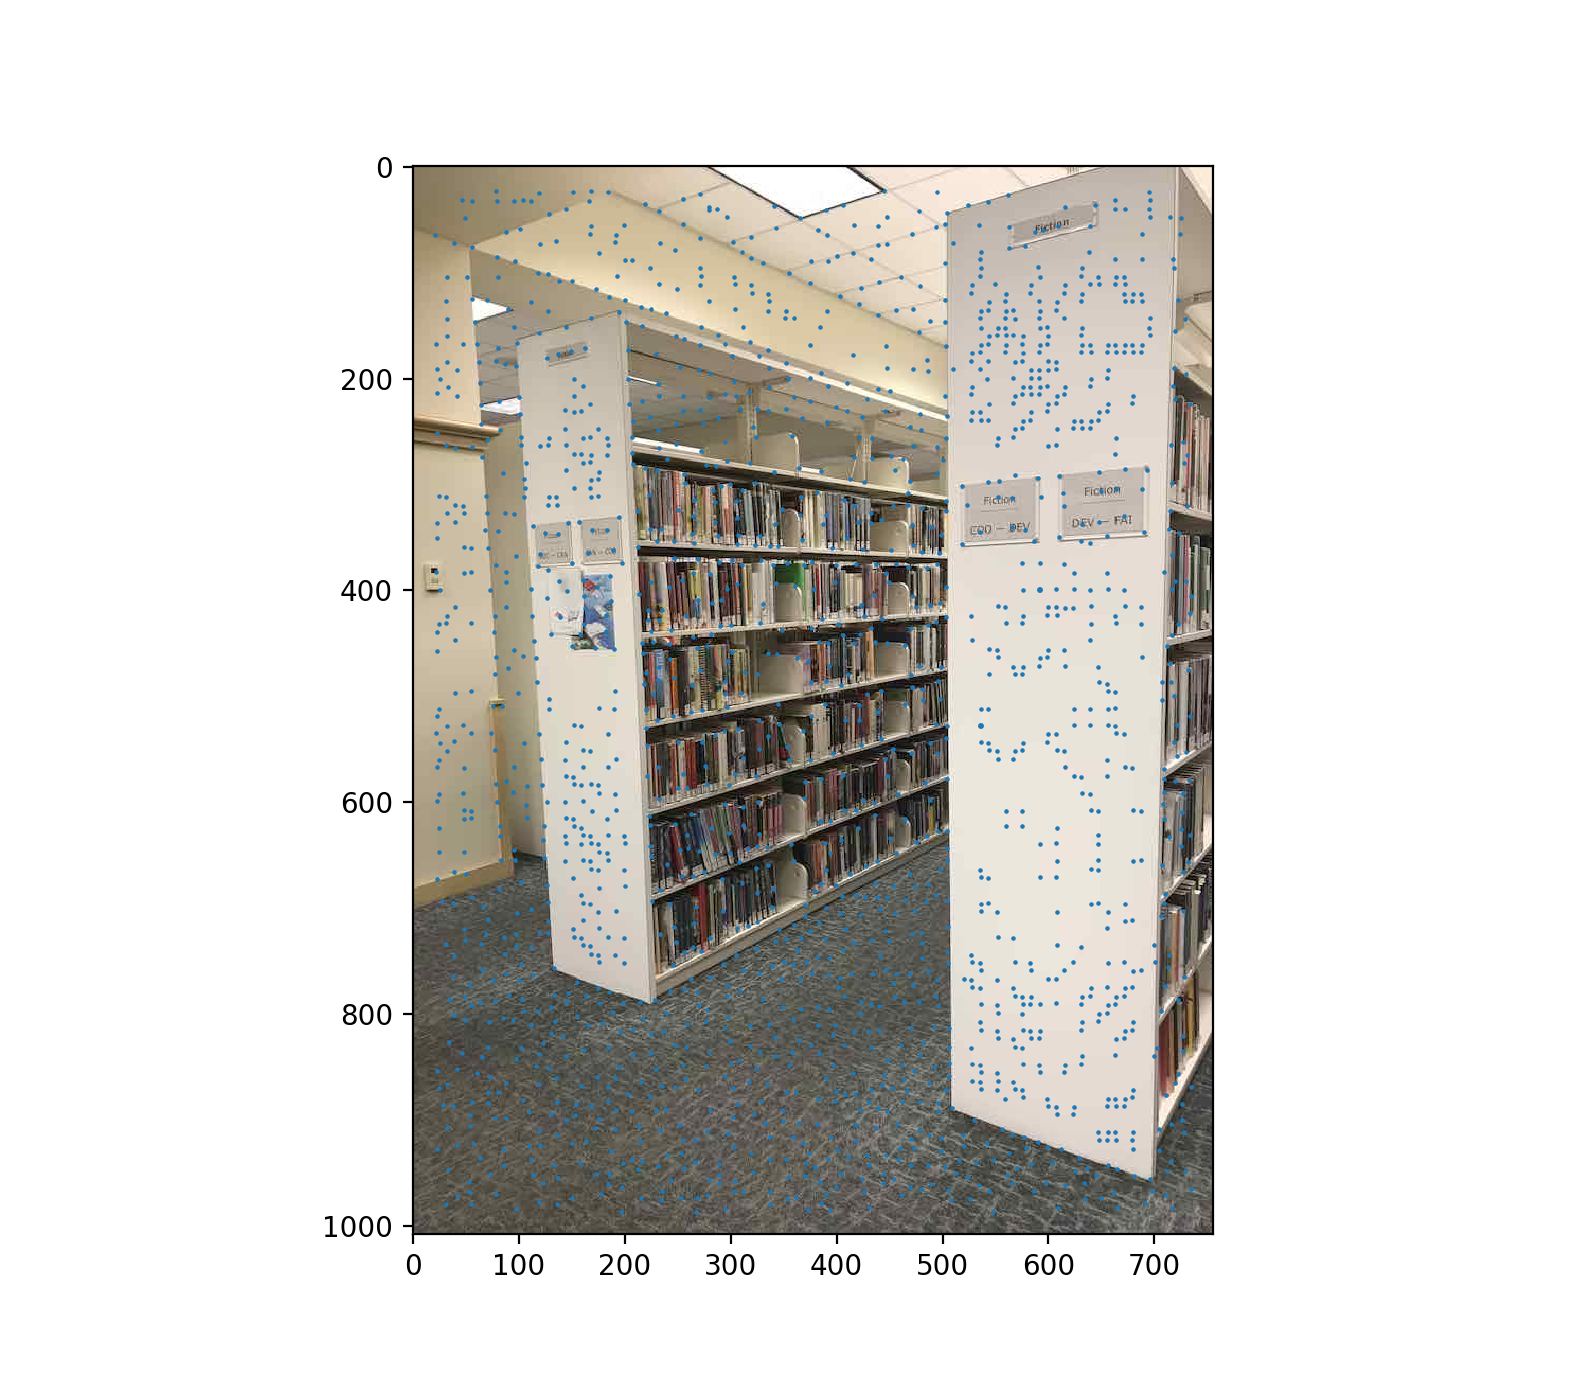
For part 2, I implemented Adaptive Non Maximal Suppression to narrow down the points into the most descriptive and spread points. ANMS is implmented by finding the best point in a particular radius from another point where the function is minimized on the distance between points, and then the radius starts large and shrinks every iteration.
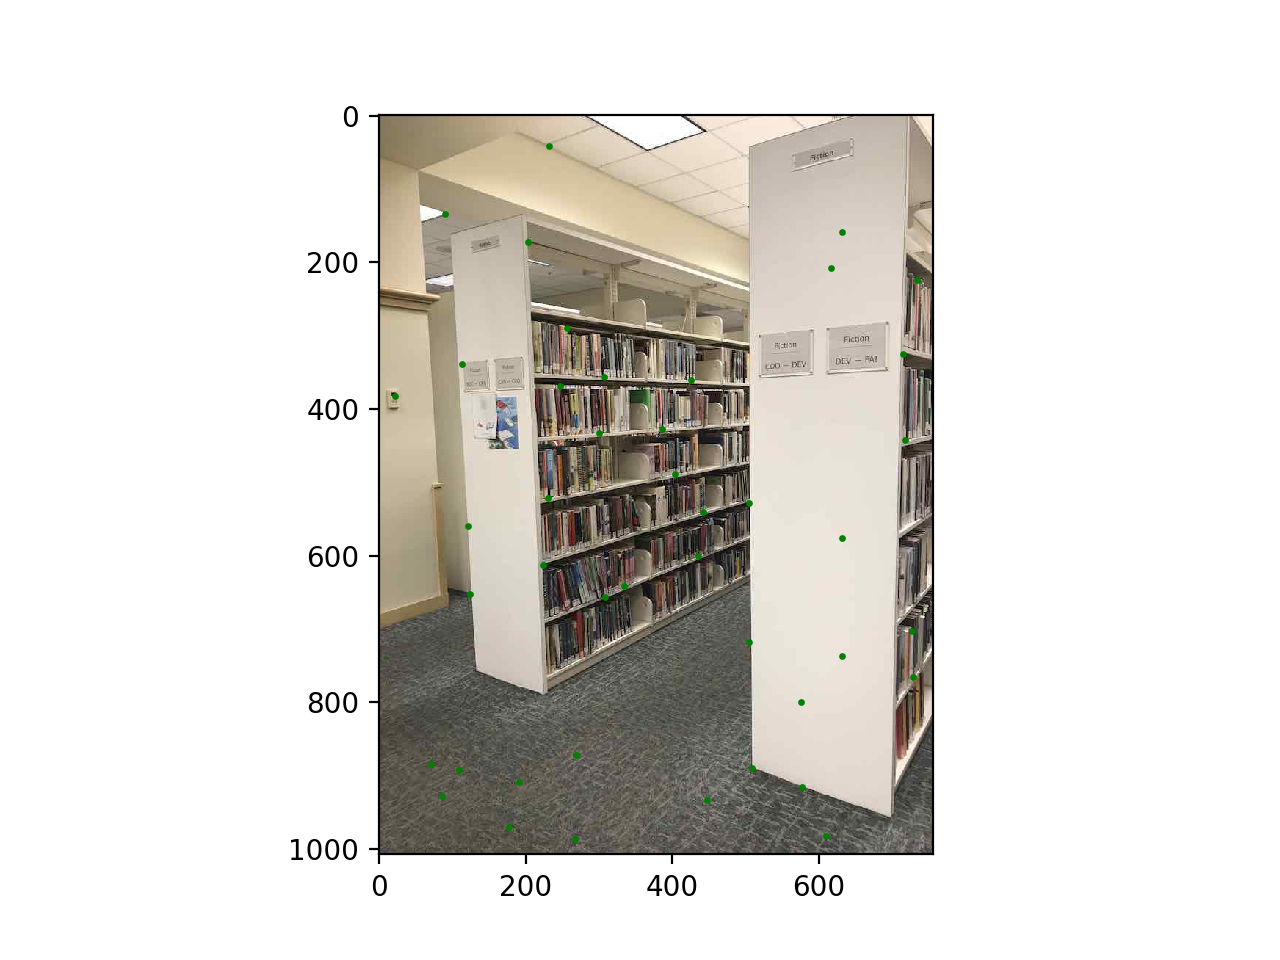
For part 3, I implemented Feature Descriptor extraction by taking 40x40 samples around the points, resizing them to 8x8 samples, and storing these 1x64 vectors as correspondent to particular points.
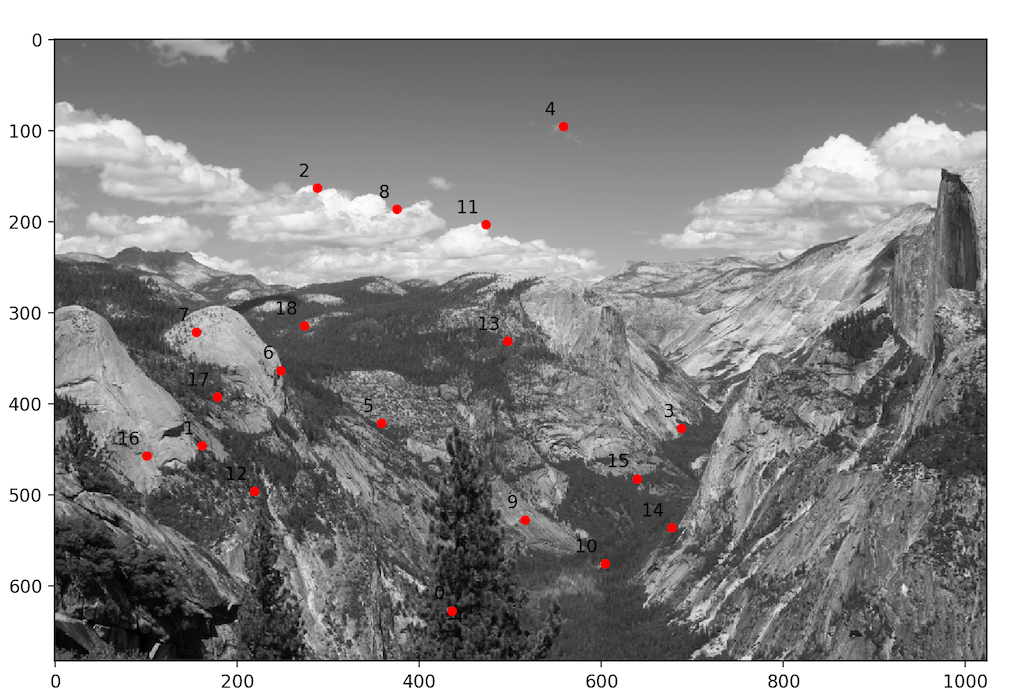
Then in part 4, I corresponded these points to their Nearest Neighbor, and used the ratio of first and second nearest neighbors to ensure that we could exclude certain easy to remove outliers. I corresponded points by simple iteration over all the feature points and scanning for lowest SSD values.

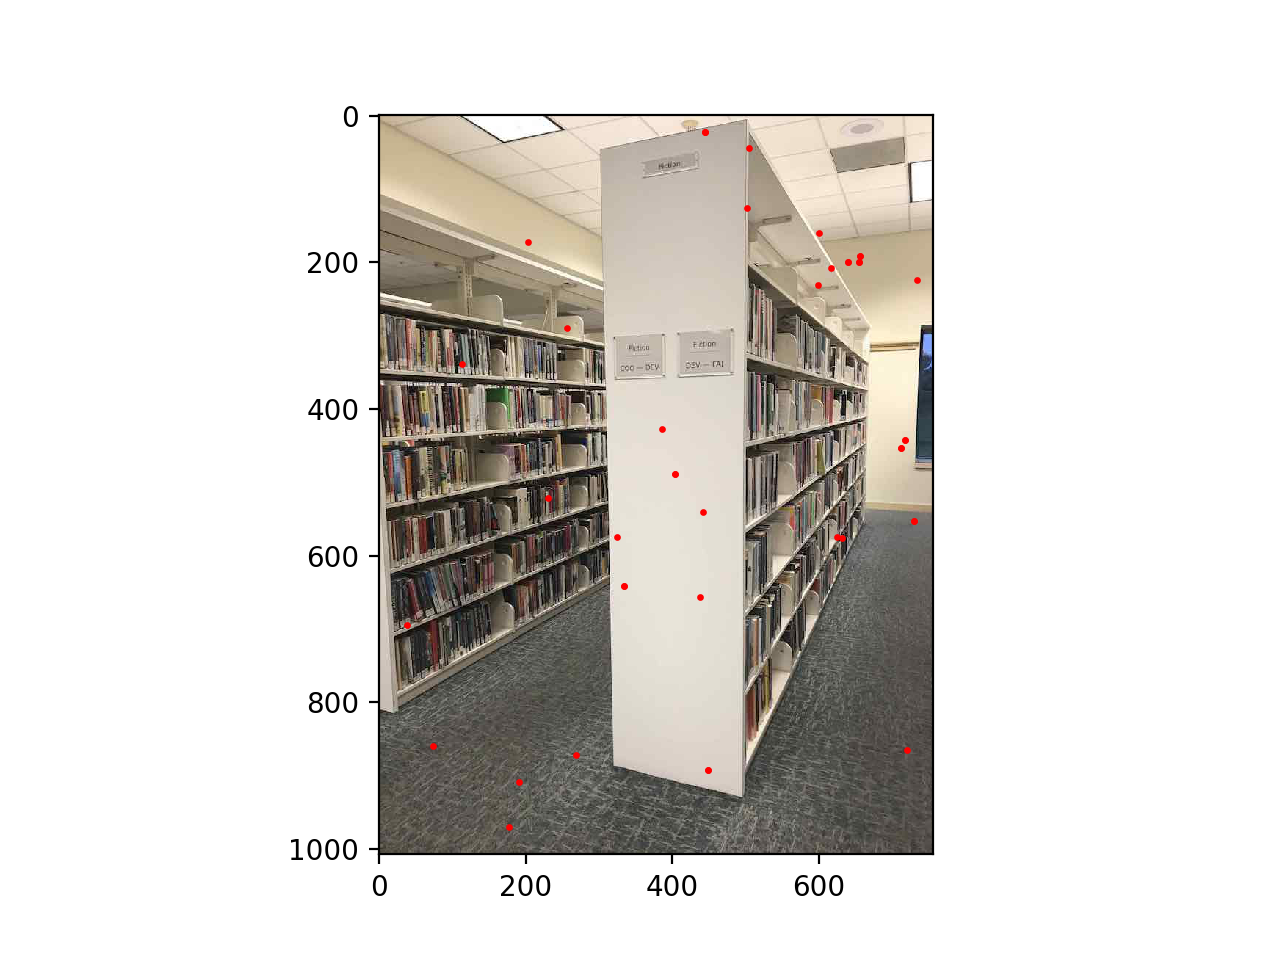
Finally, I implemented RANSAC to compute homographies. The math for the homography is shown below from a general point. In Part A and Part B, we take a certain correspondence of points and compute the least squares homography matrix to define the transformation to warp one image into the plane of the other image. In RANSAC, I iterated over random samples of exactly 4 correspondent points, which is needed to get an exact value for the H matrix.
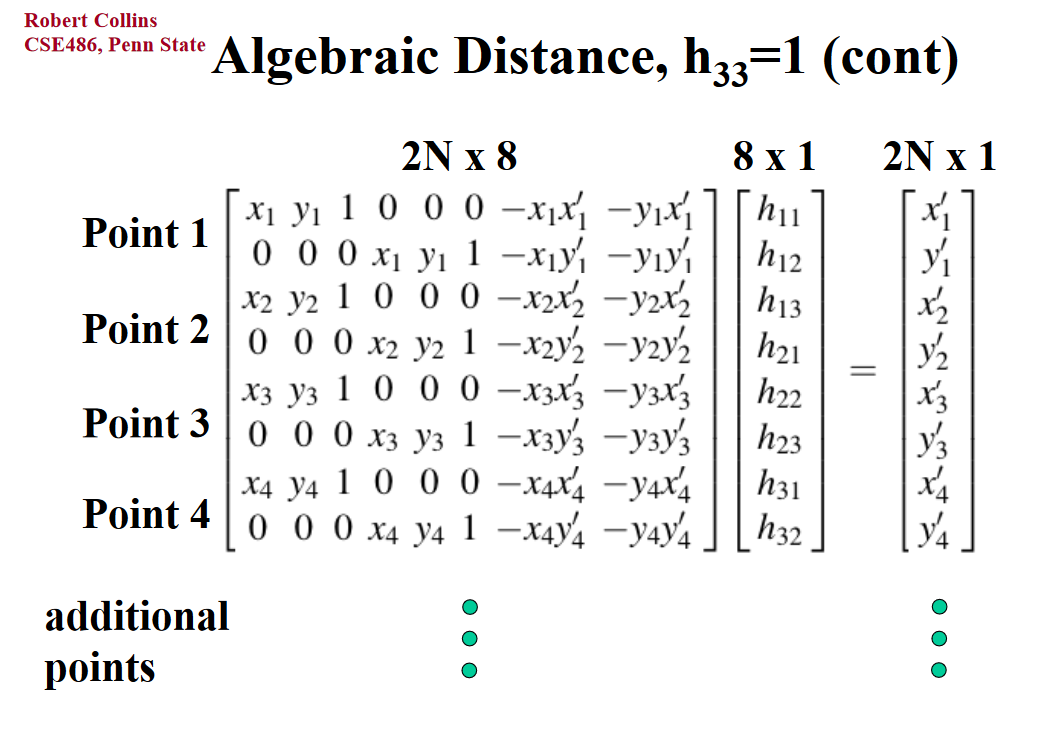
The homography matrix has 8 variables to solve for, so having two formulas for each of the four points provides a perfect solution. Any more than that and you solve for a regression or least squares for the variables.
Results
To blend images, I implemented a simple linear blend and blended along the seam for joined images. I computed offsets to align the images once the warped versions were calculated, and the pano function I wrote joins two or three images together.


What I learned
In this project, I learned a lot more about the diverse use cases for SSD, and for how signal matching and other signal processings work. I wish I got to work a little more on the blend, but being able to automatically select points was a great intro into computer vision and I'm glad to understand that not all of image processing comes from neural networks :P. Understanding how the community came up with methods to remove error from typically error prone methods like SSD on potentially repeating patterns in images was also very interesting.